1
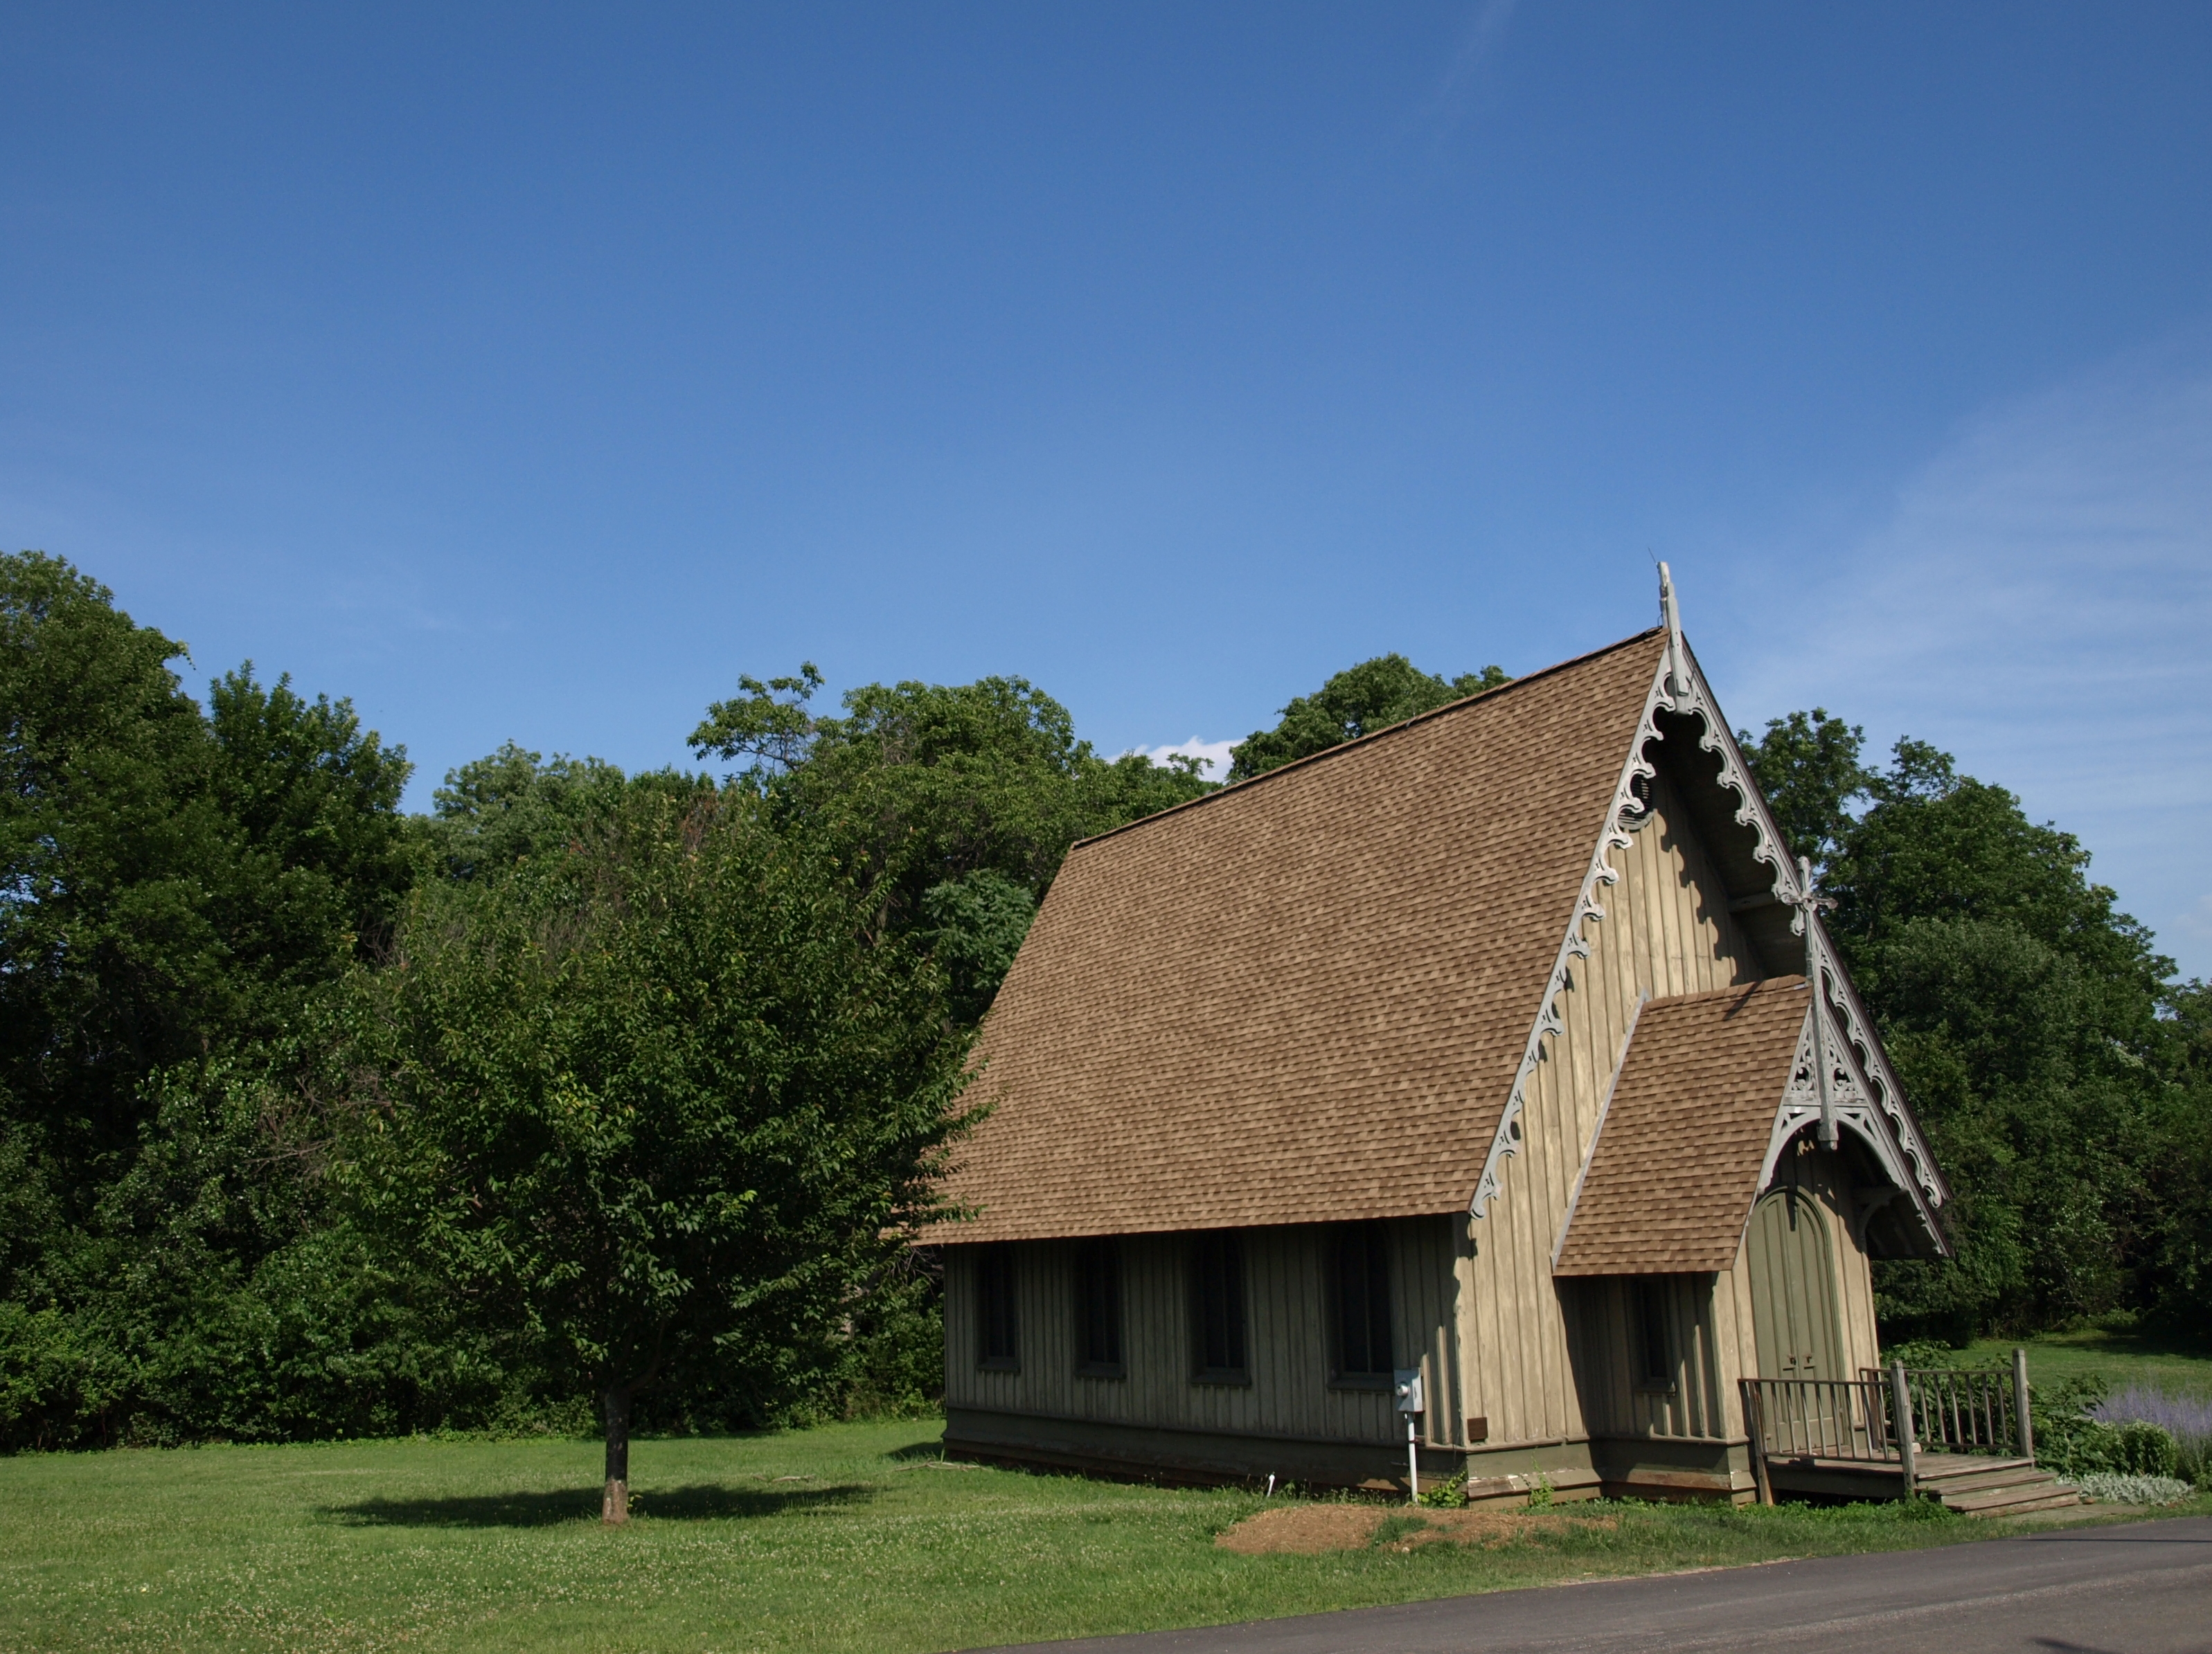
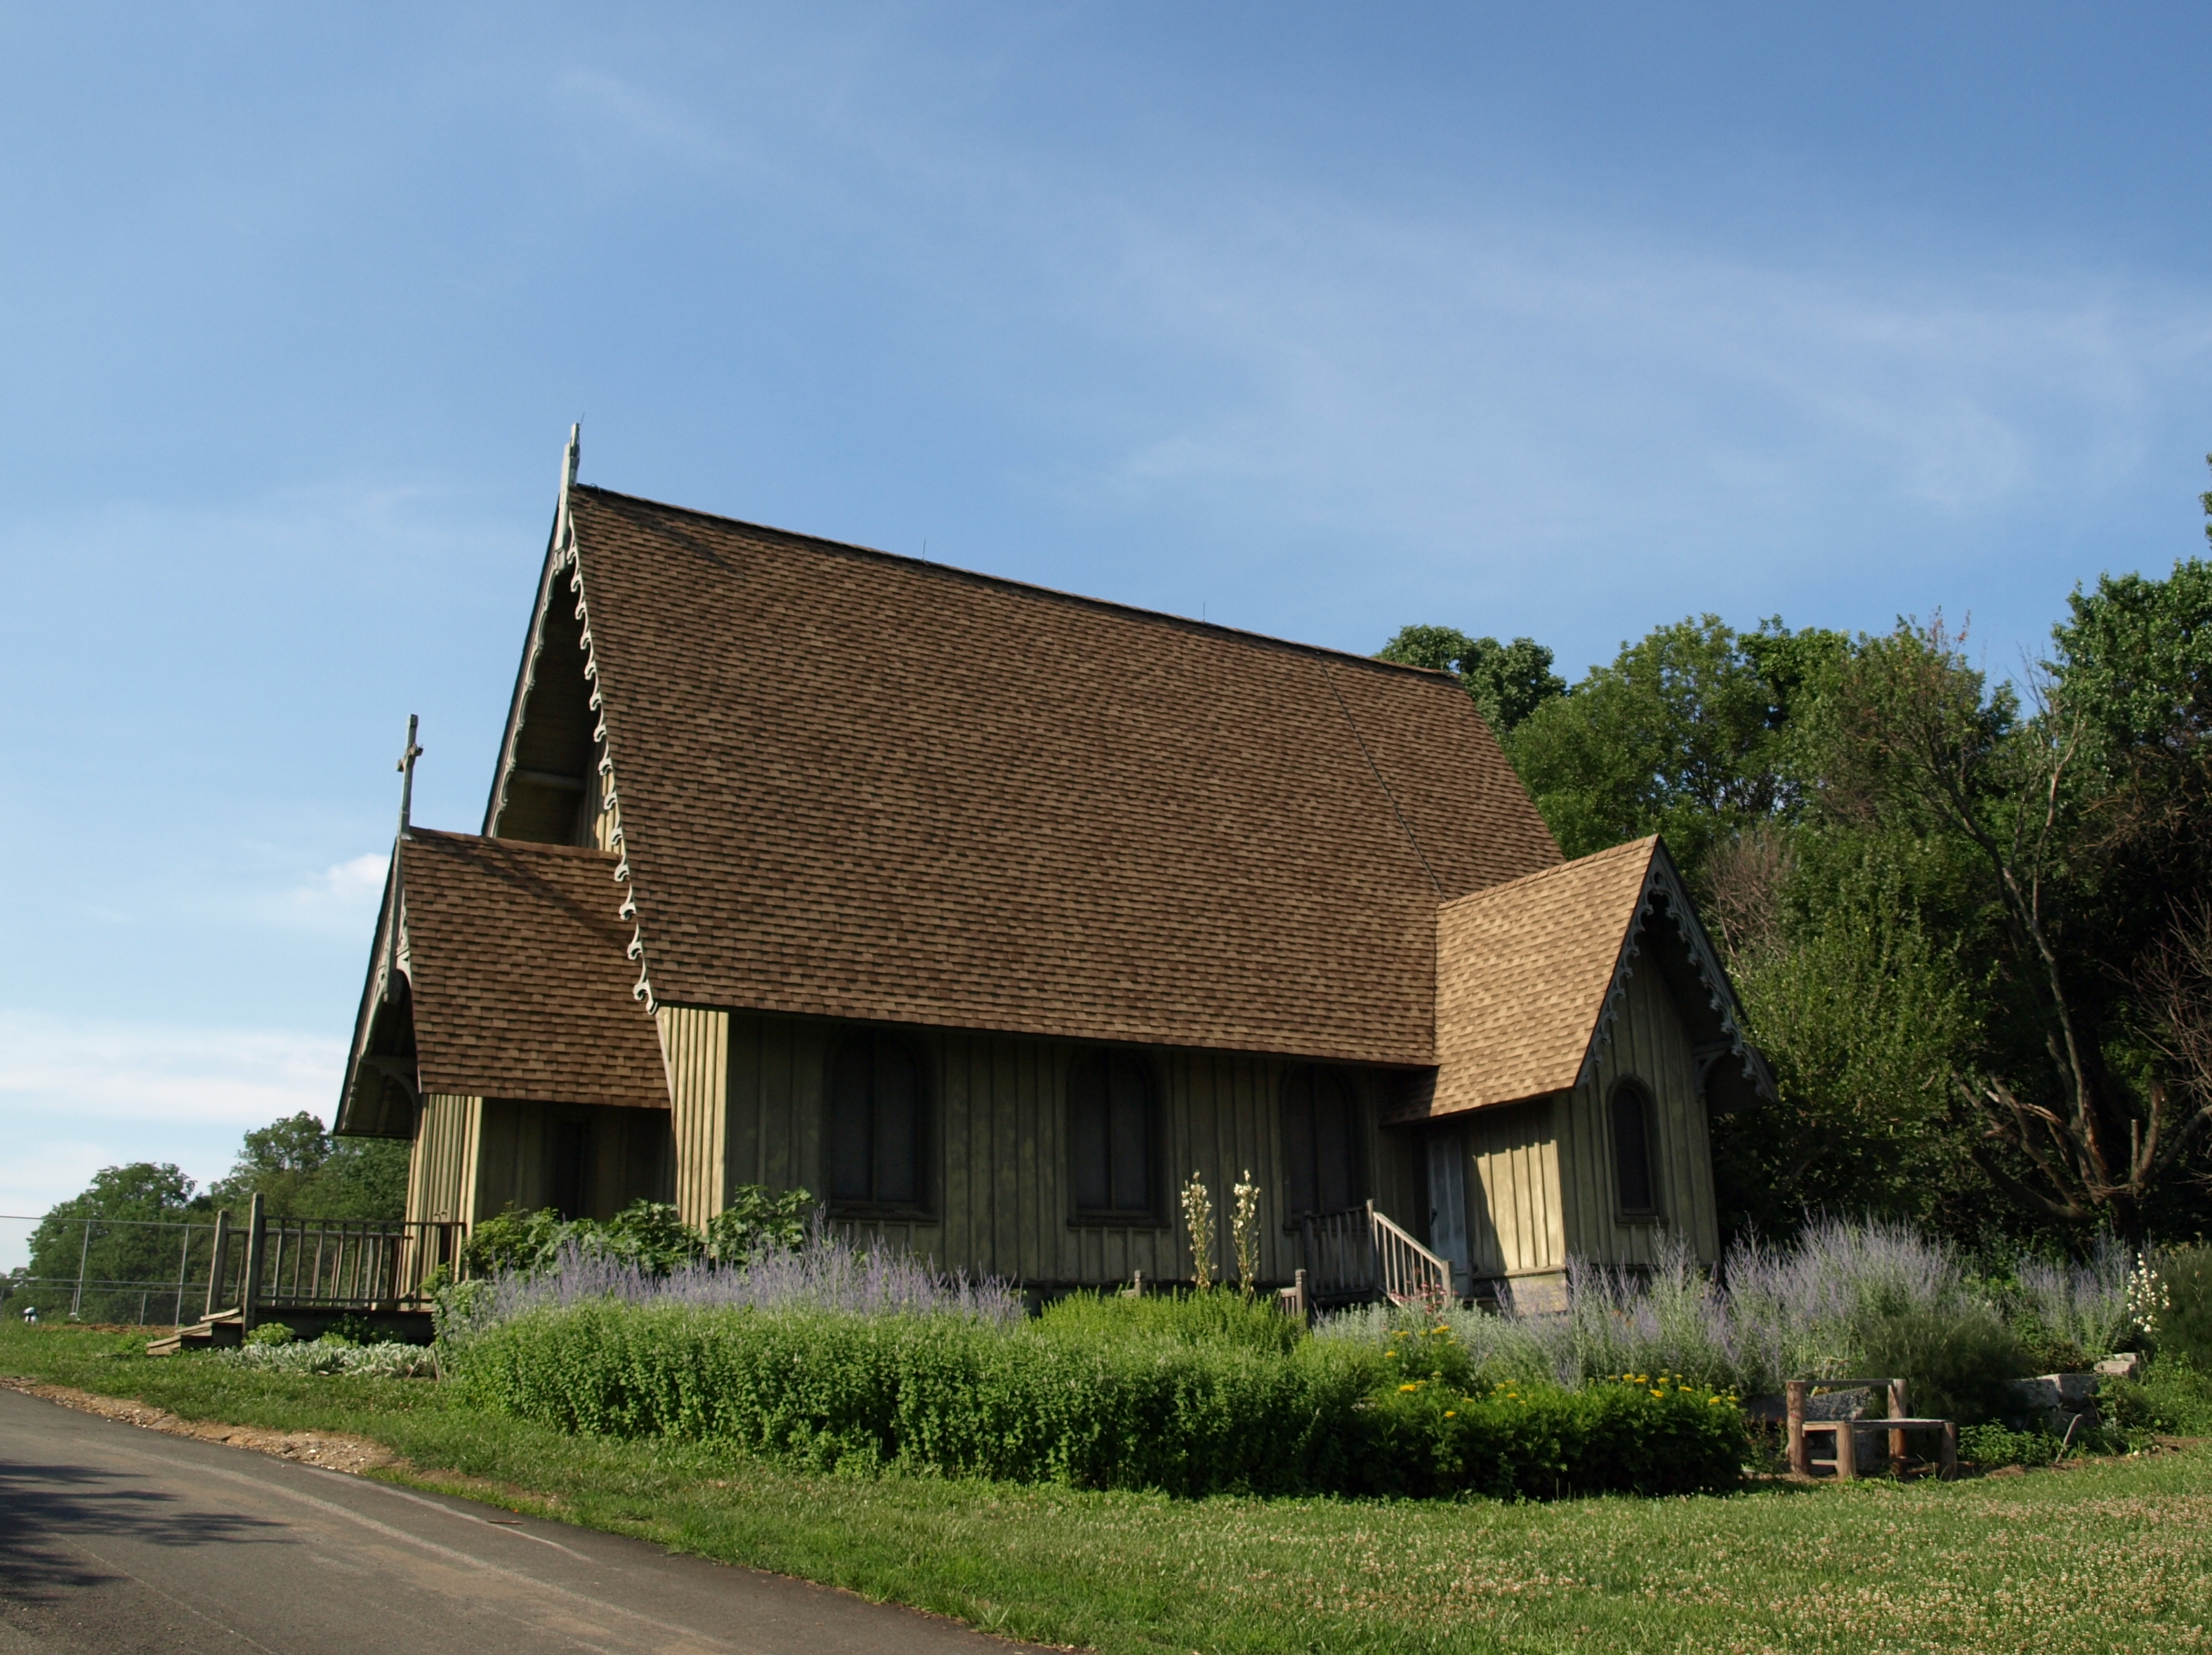
The Chapel
The Chapel
2
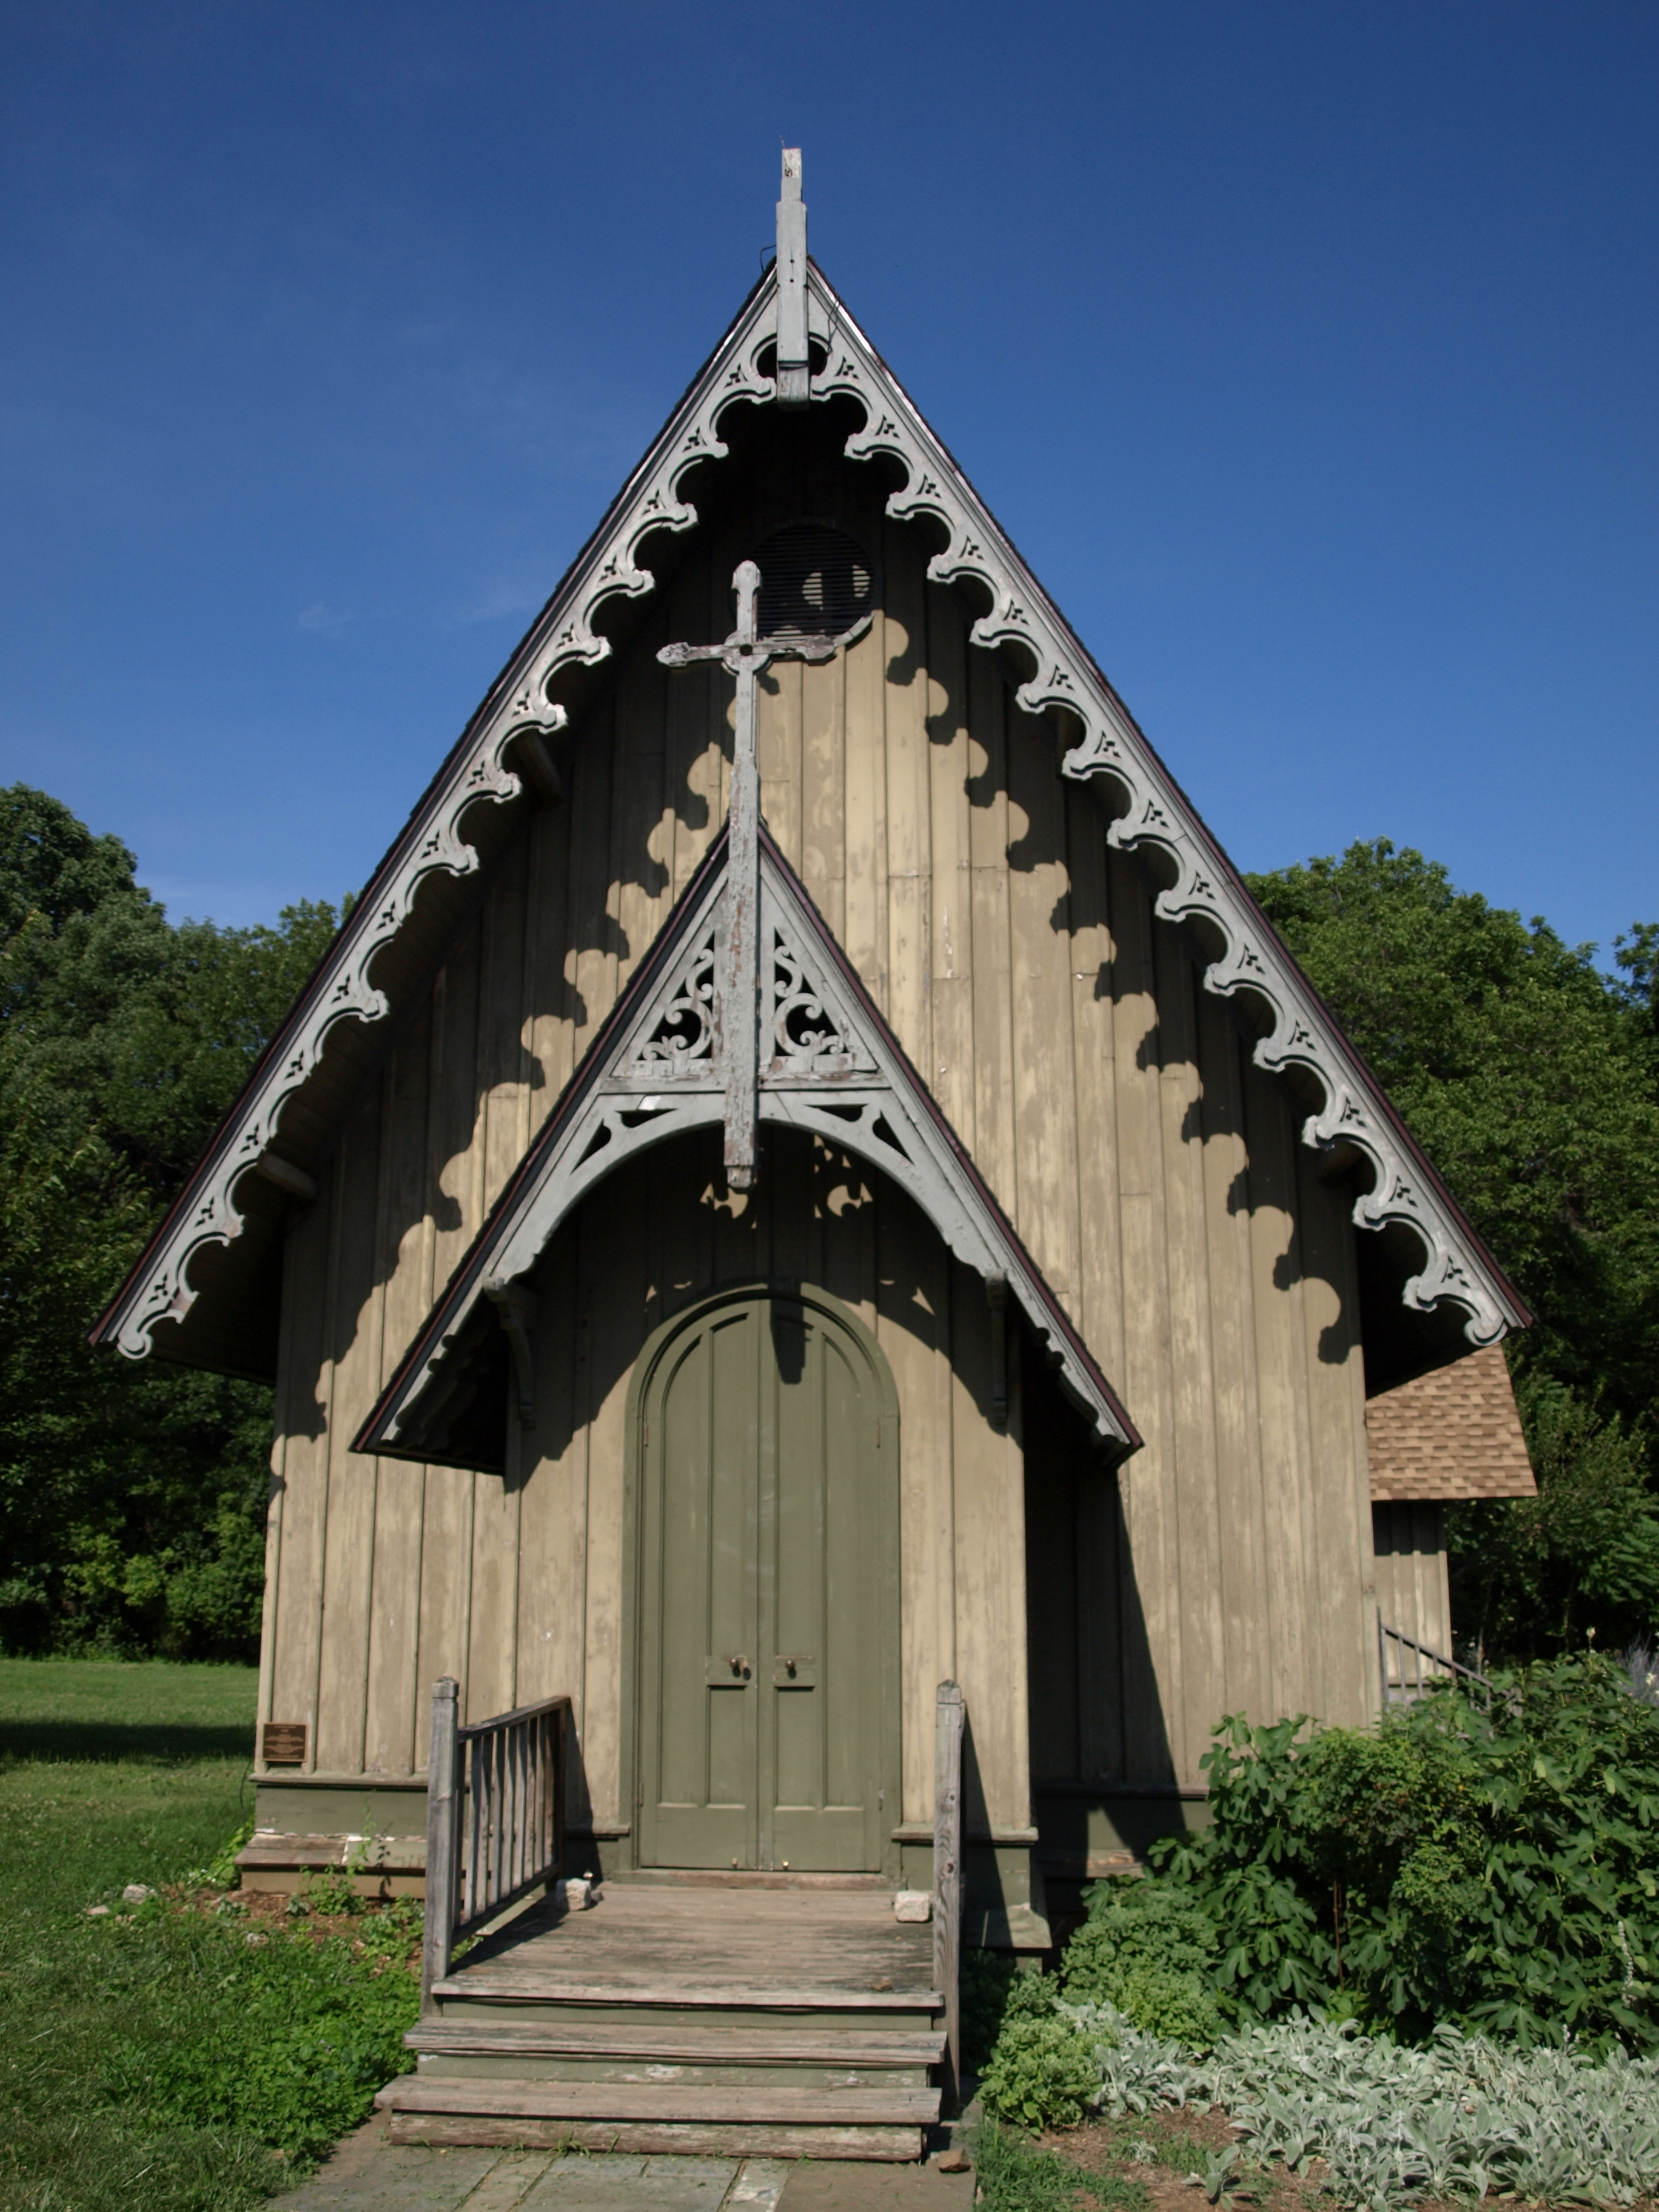
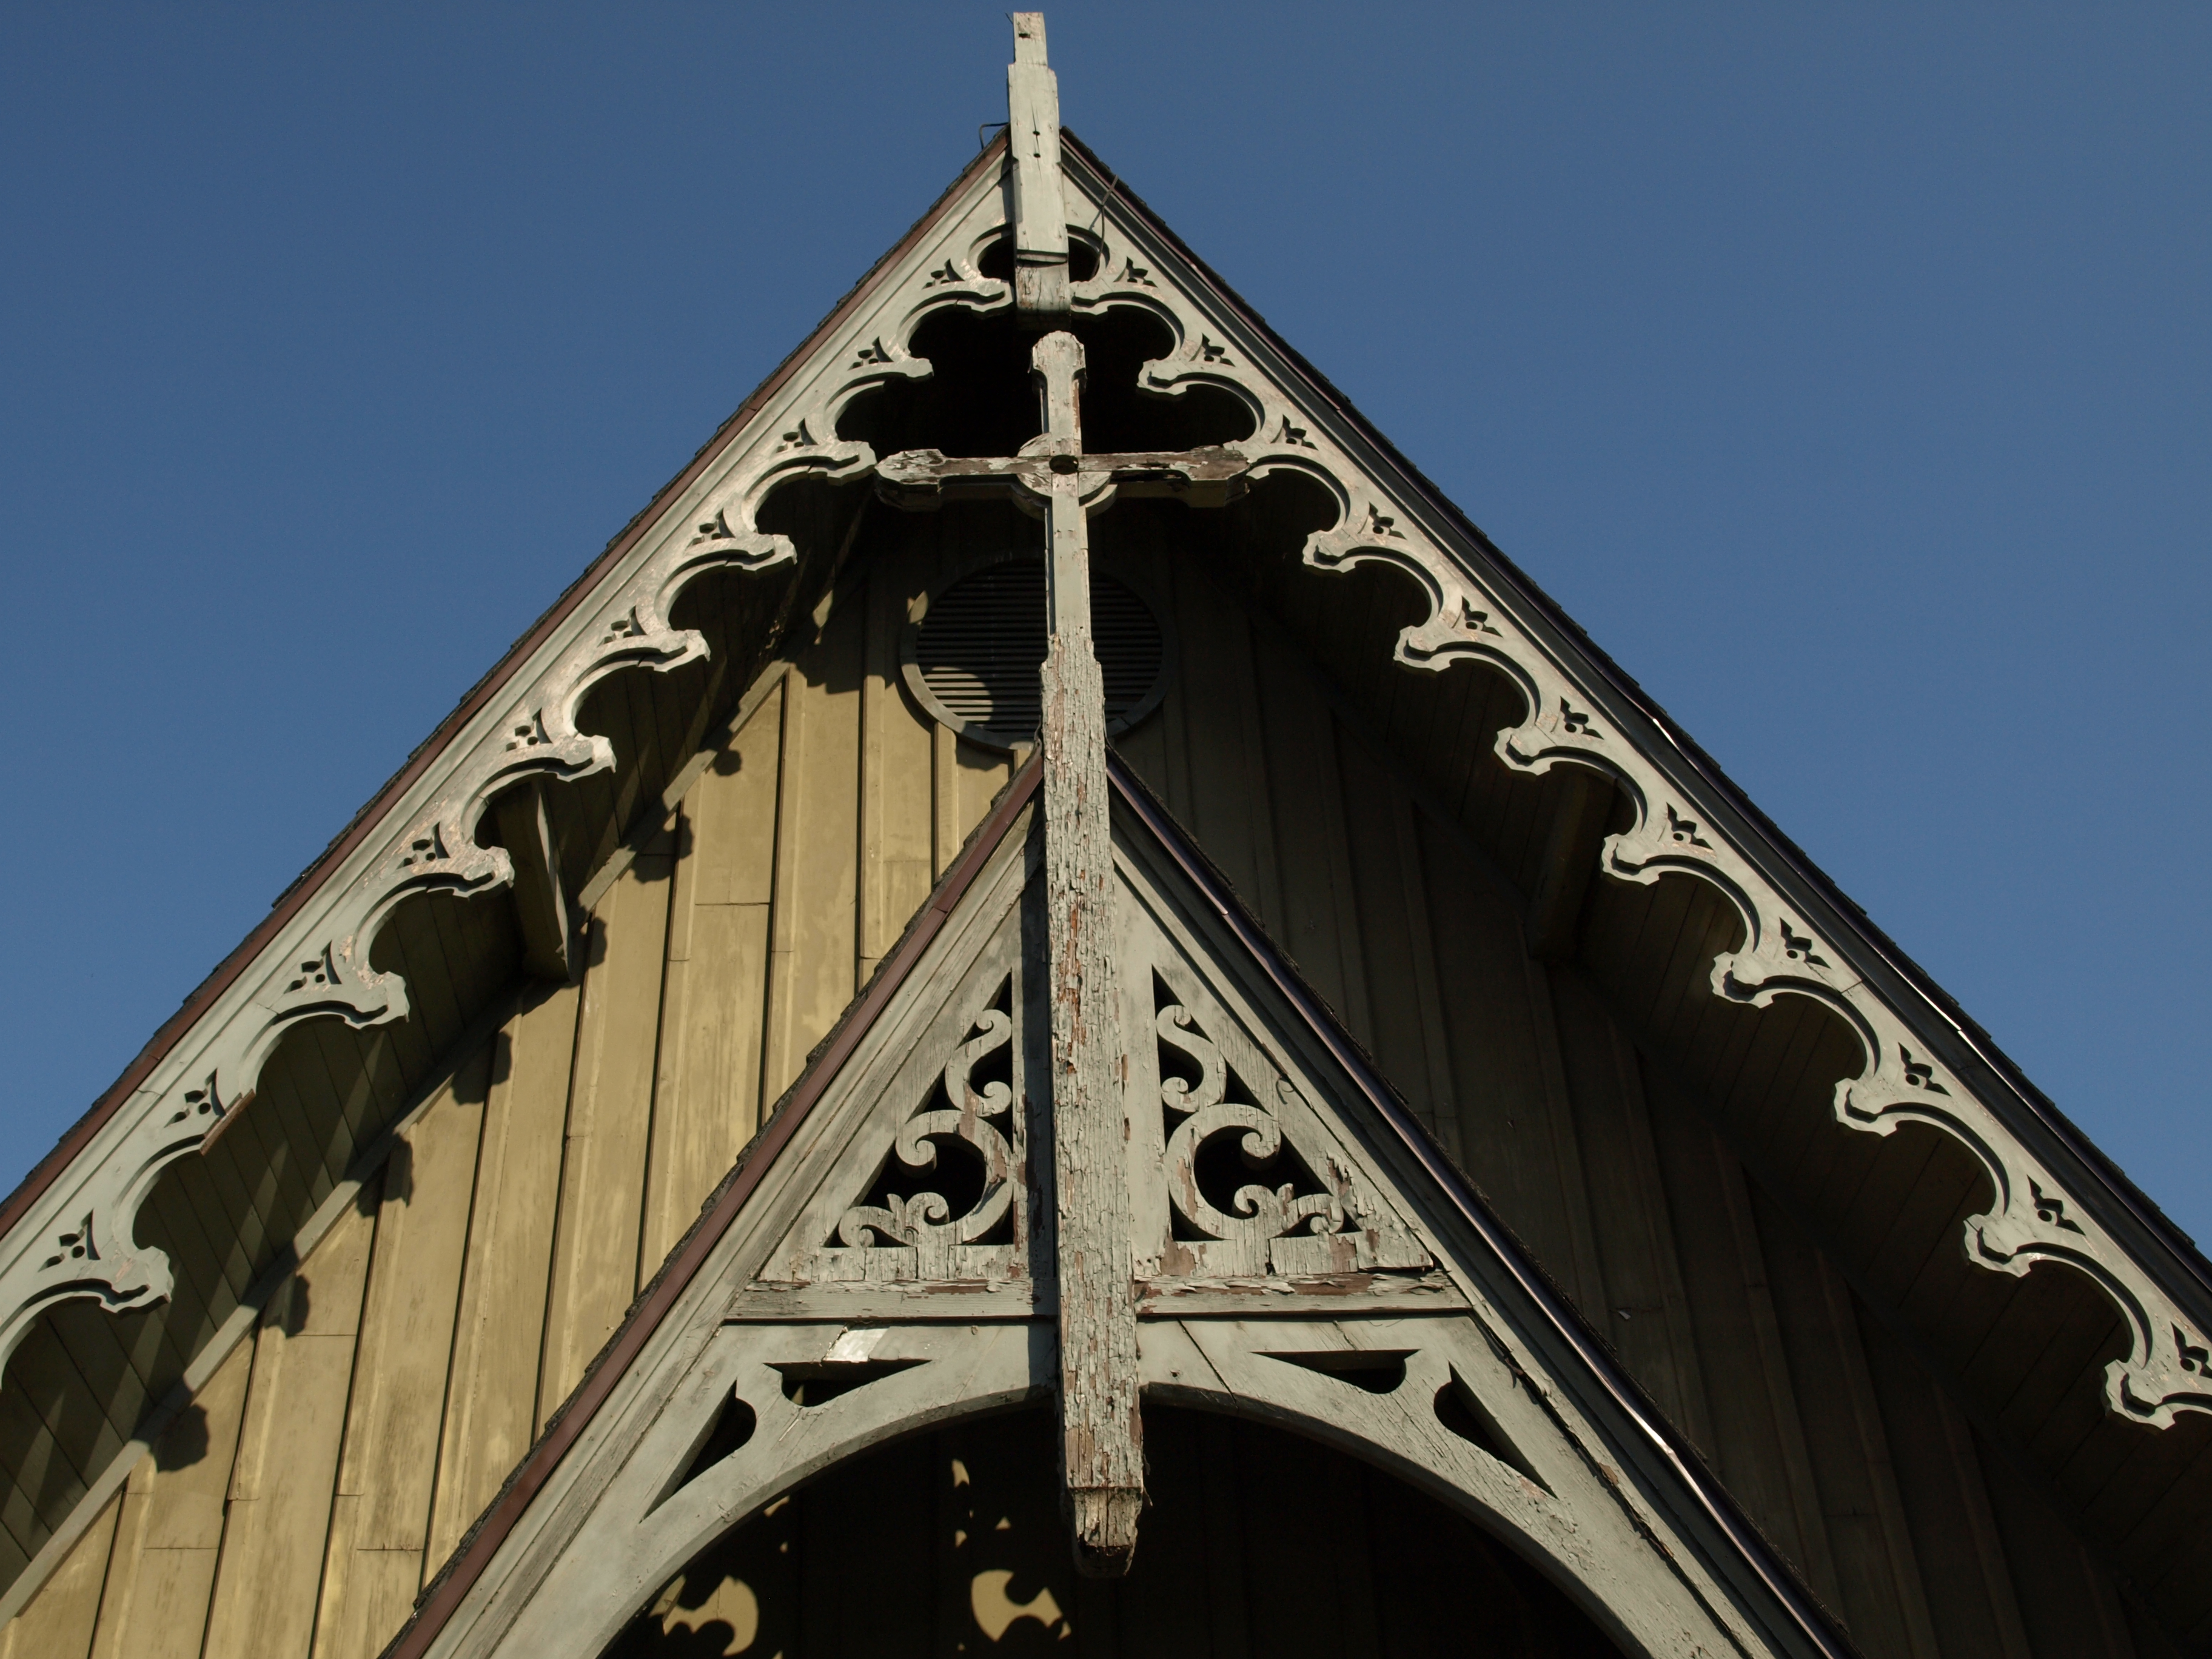
One Cross on the Chapel
One Cross on the Chapel
3
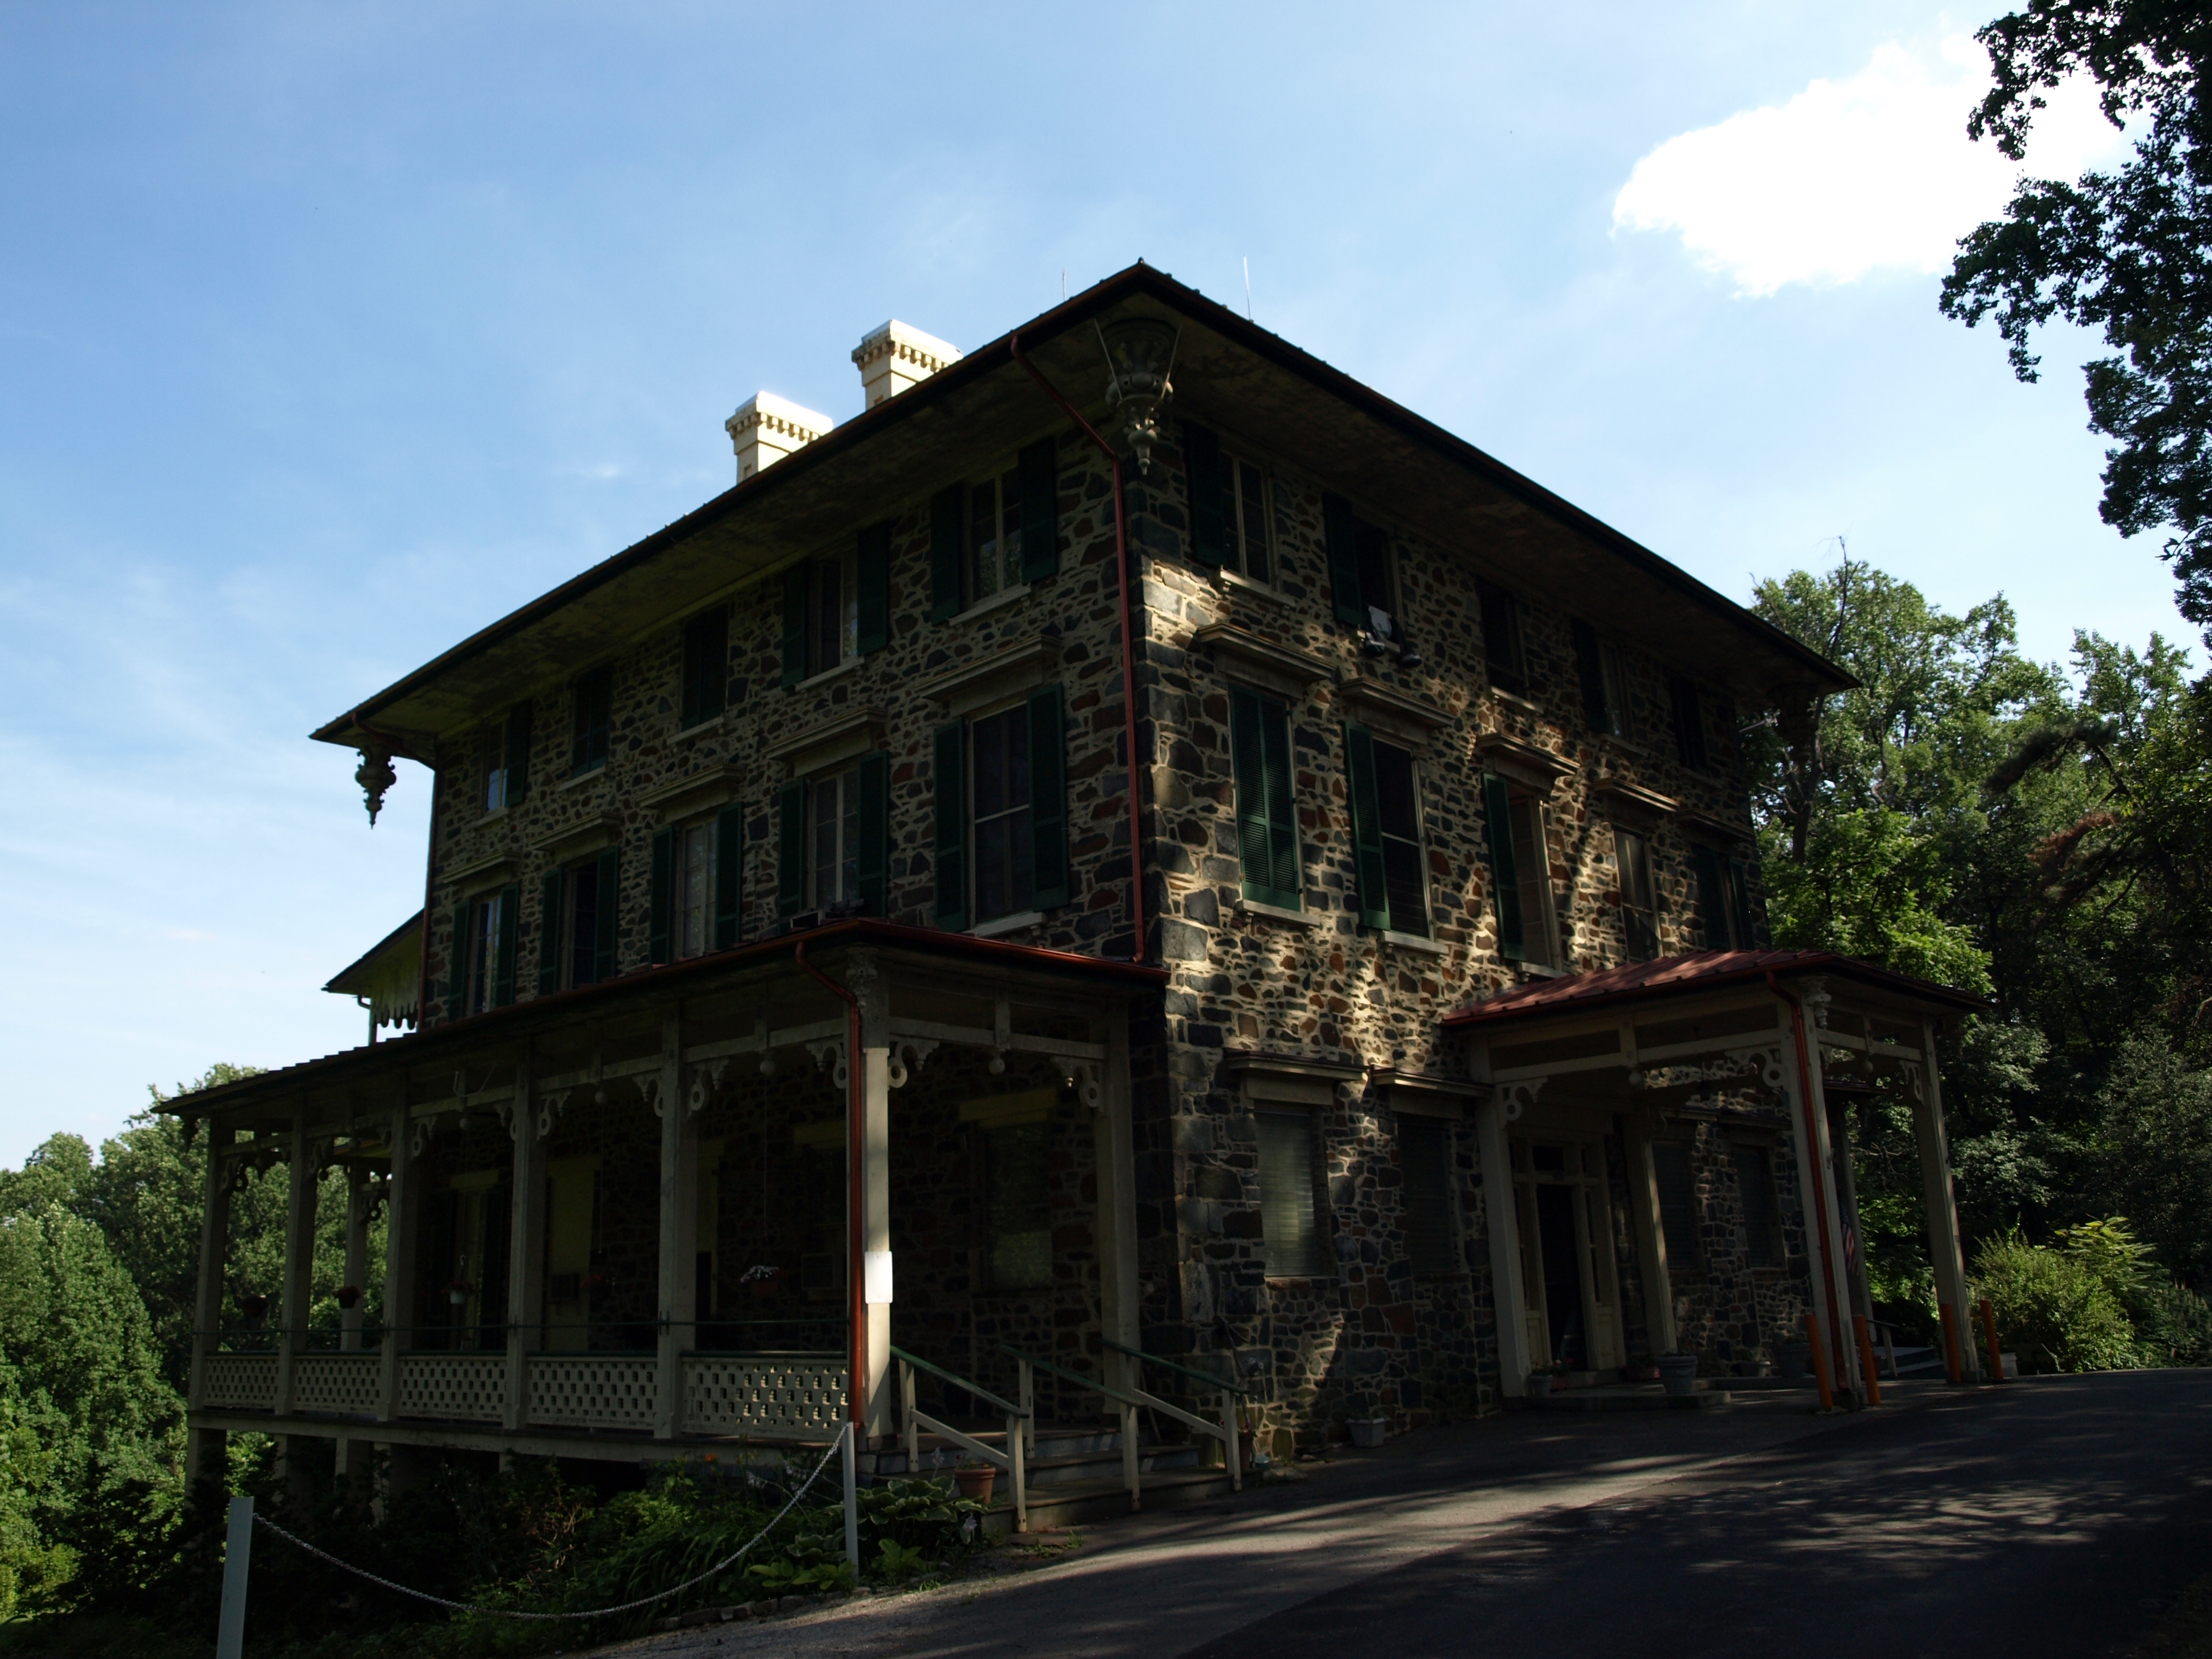
Orianda House on the Crimea Estate
Orianda House on the Crimea Estate

4
Front View of the Orianda House
Front View of the Orianda House
5
Chapel Garden
Chapel Garden
6
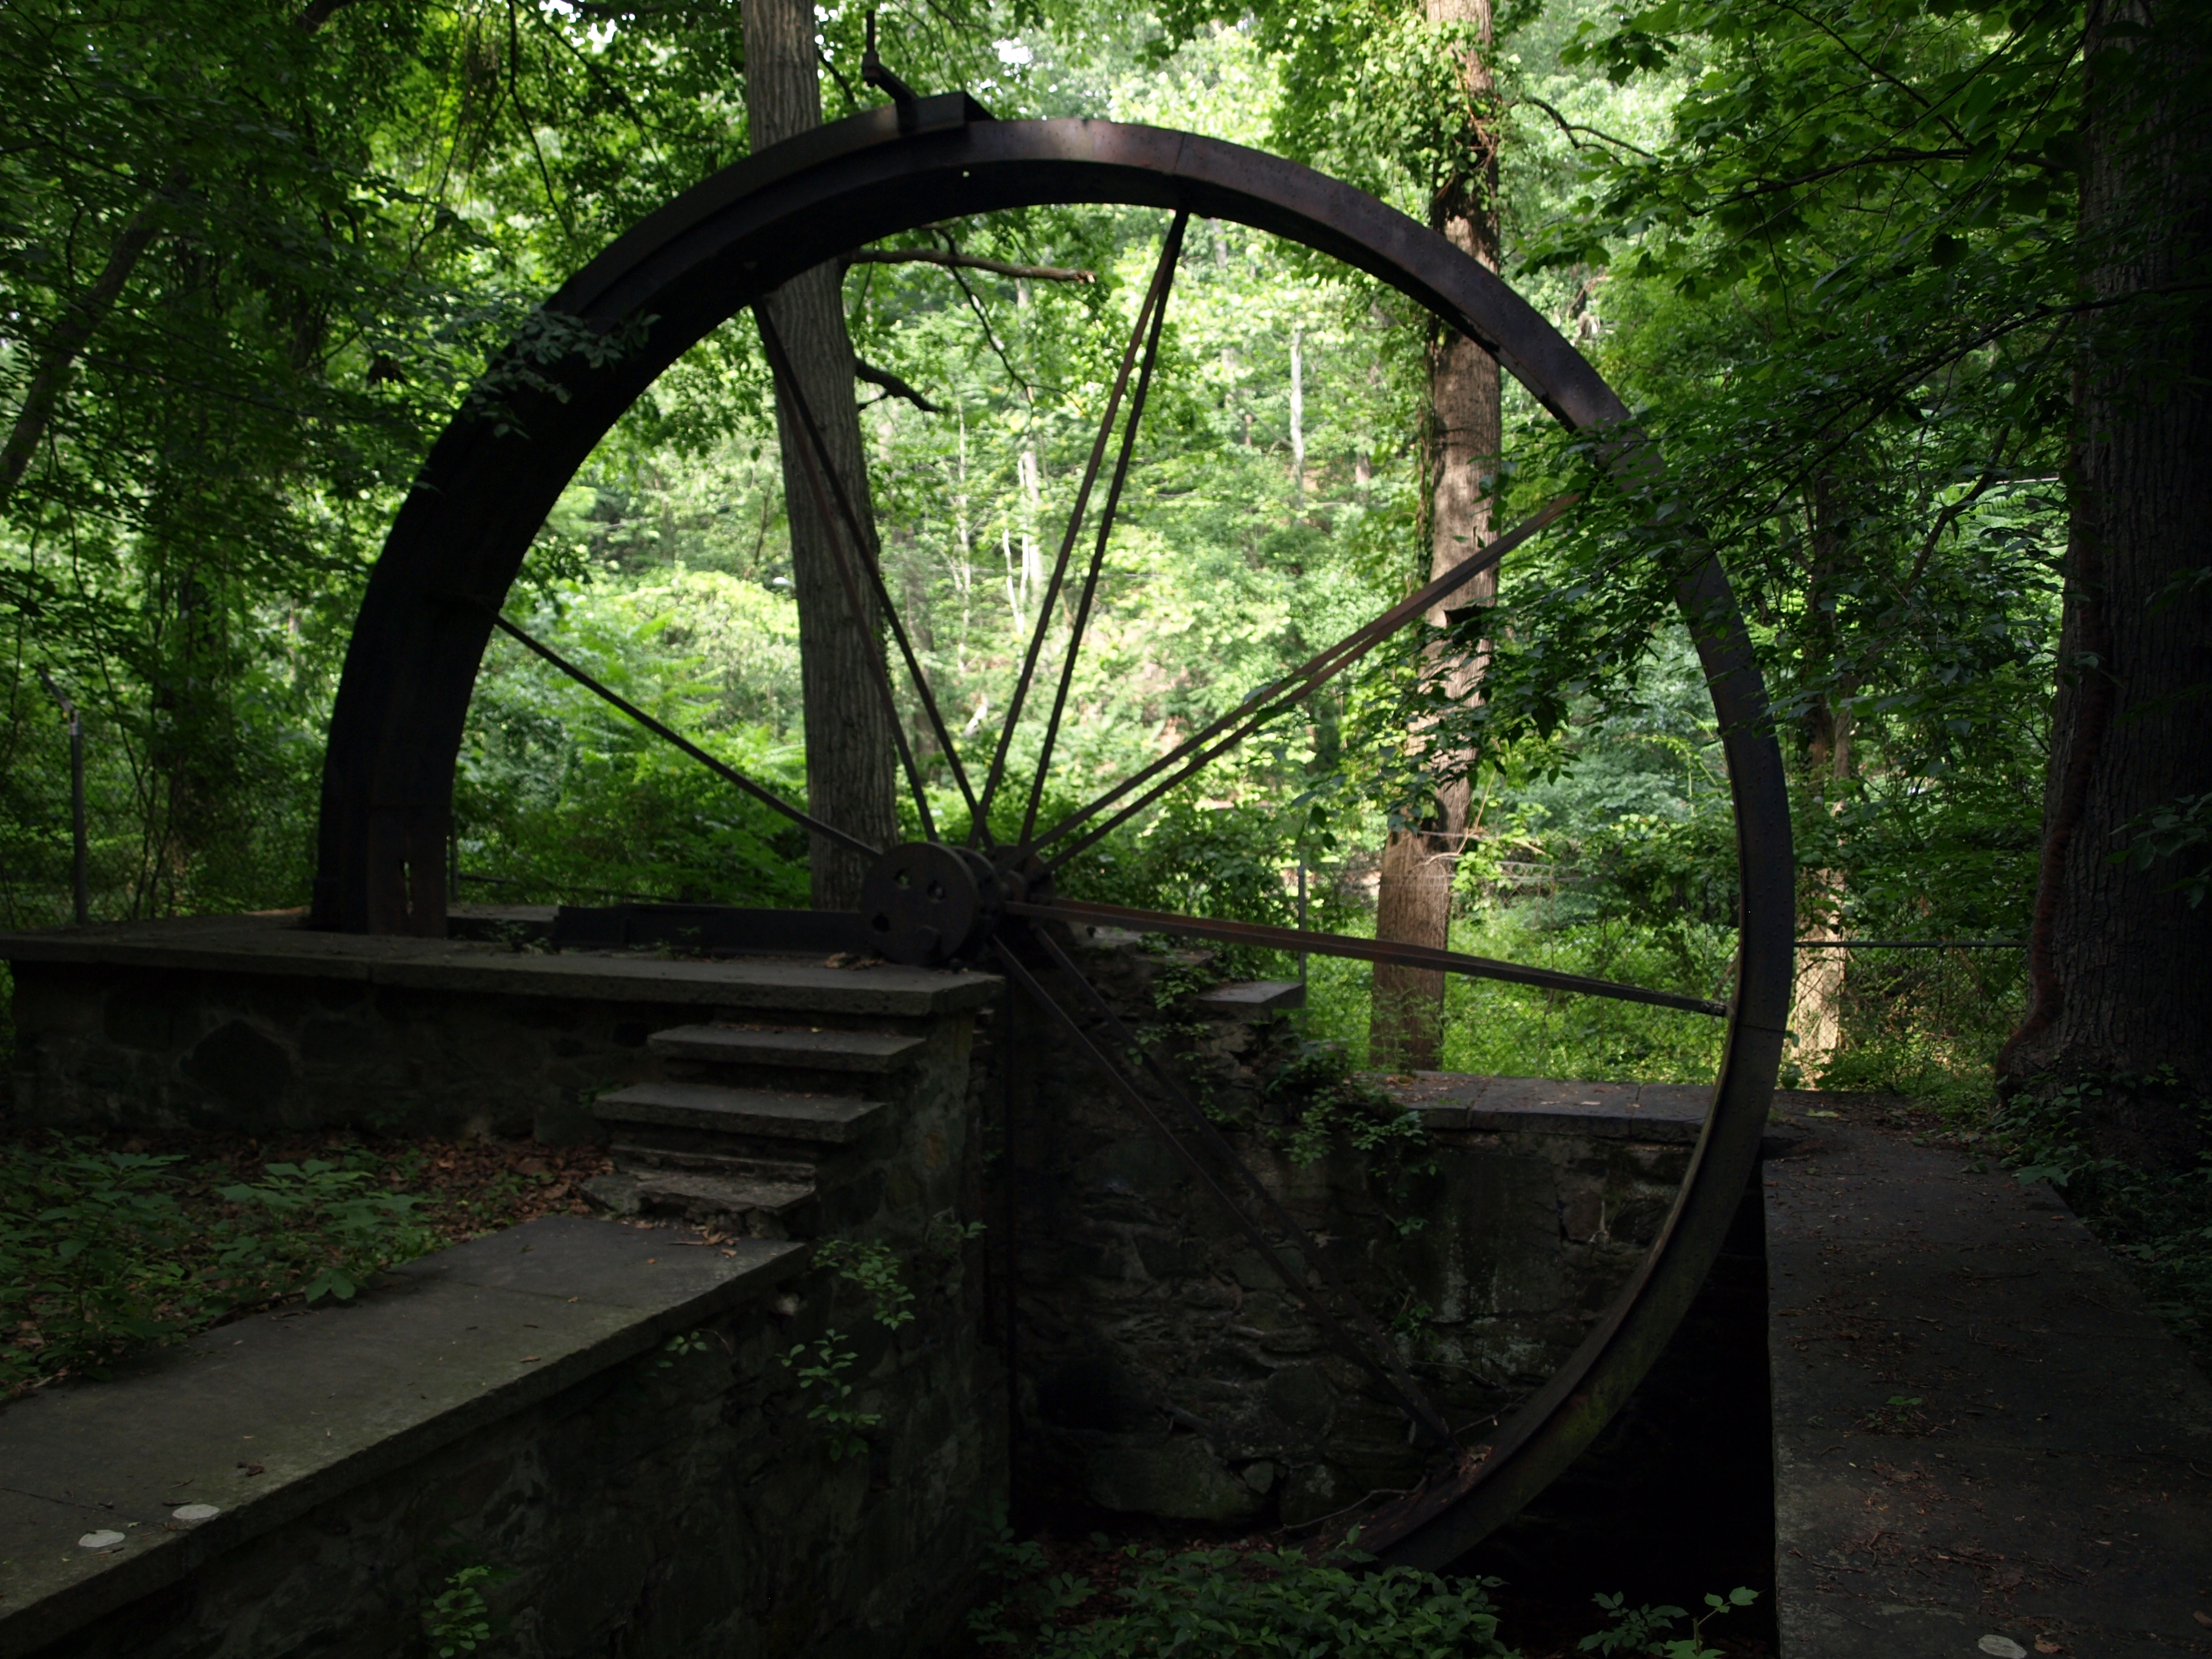
The Dormant Water Wheel
The Dormant Water Wheel
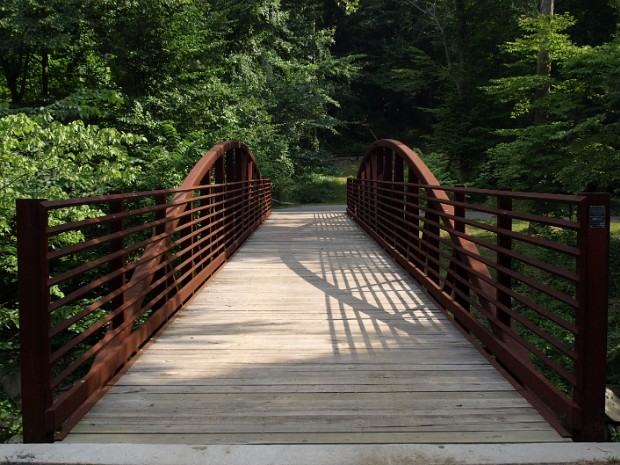
7
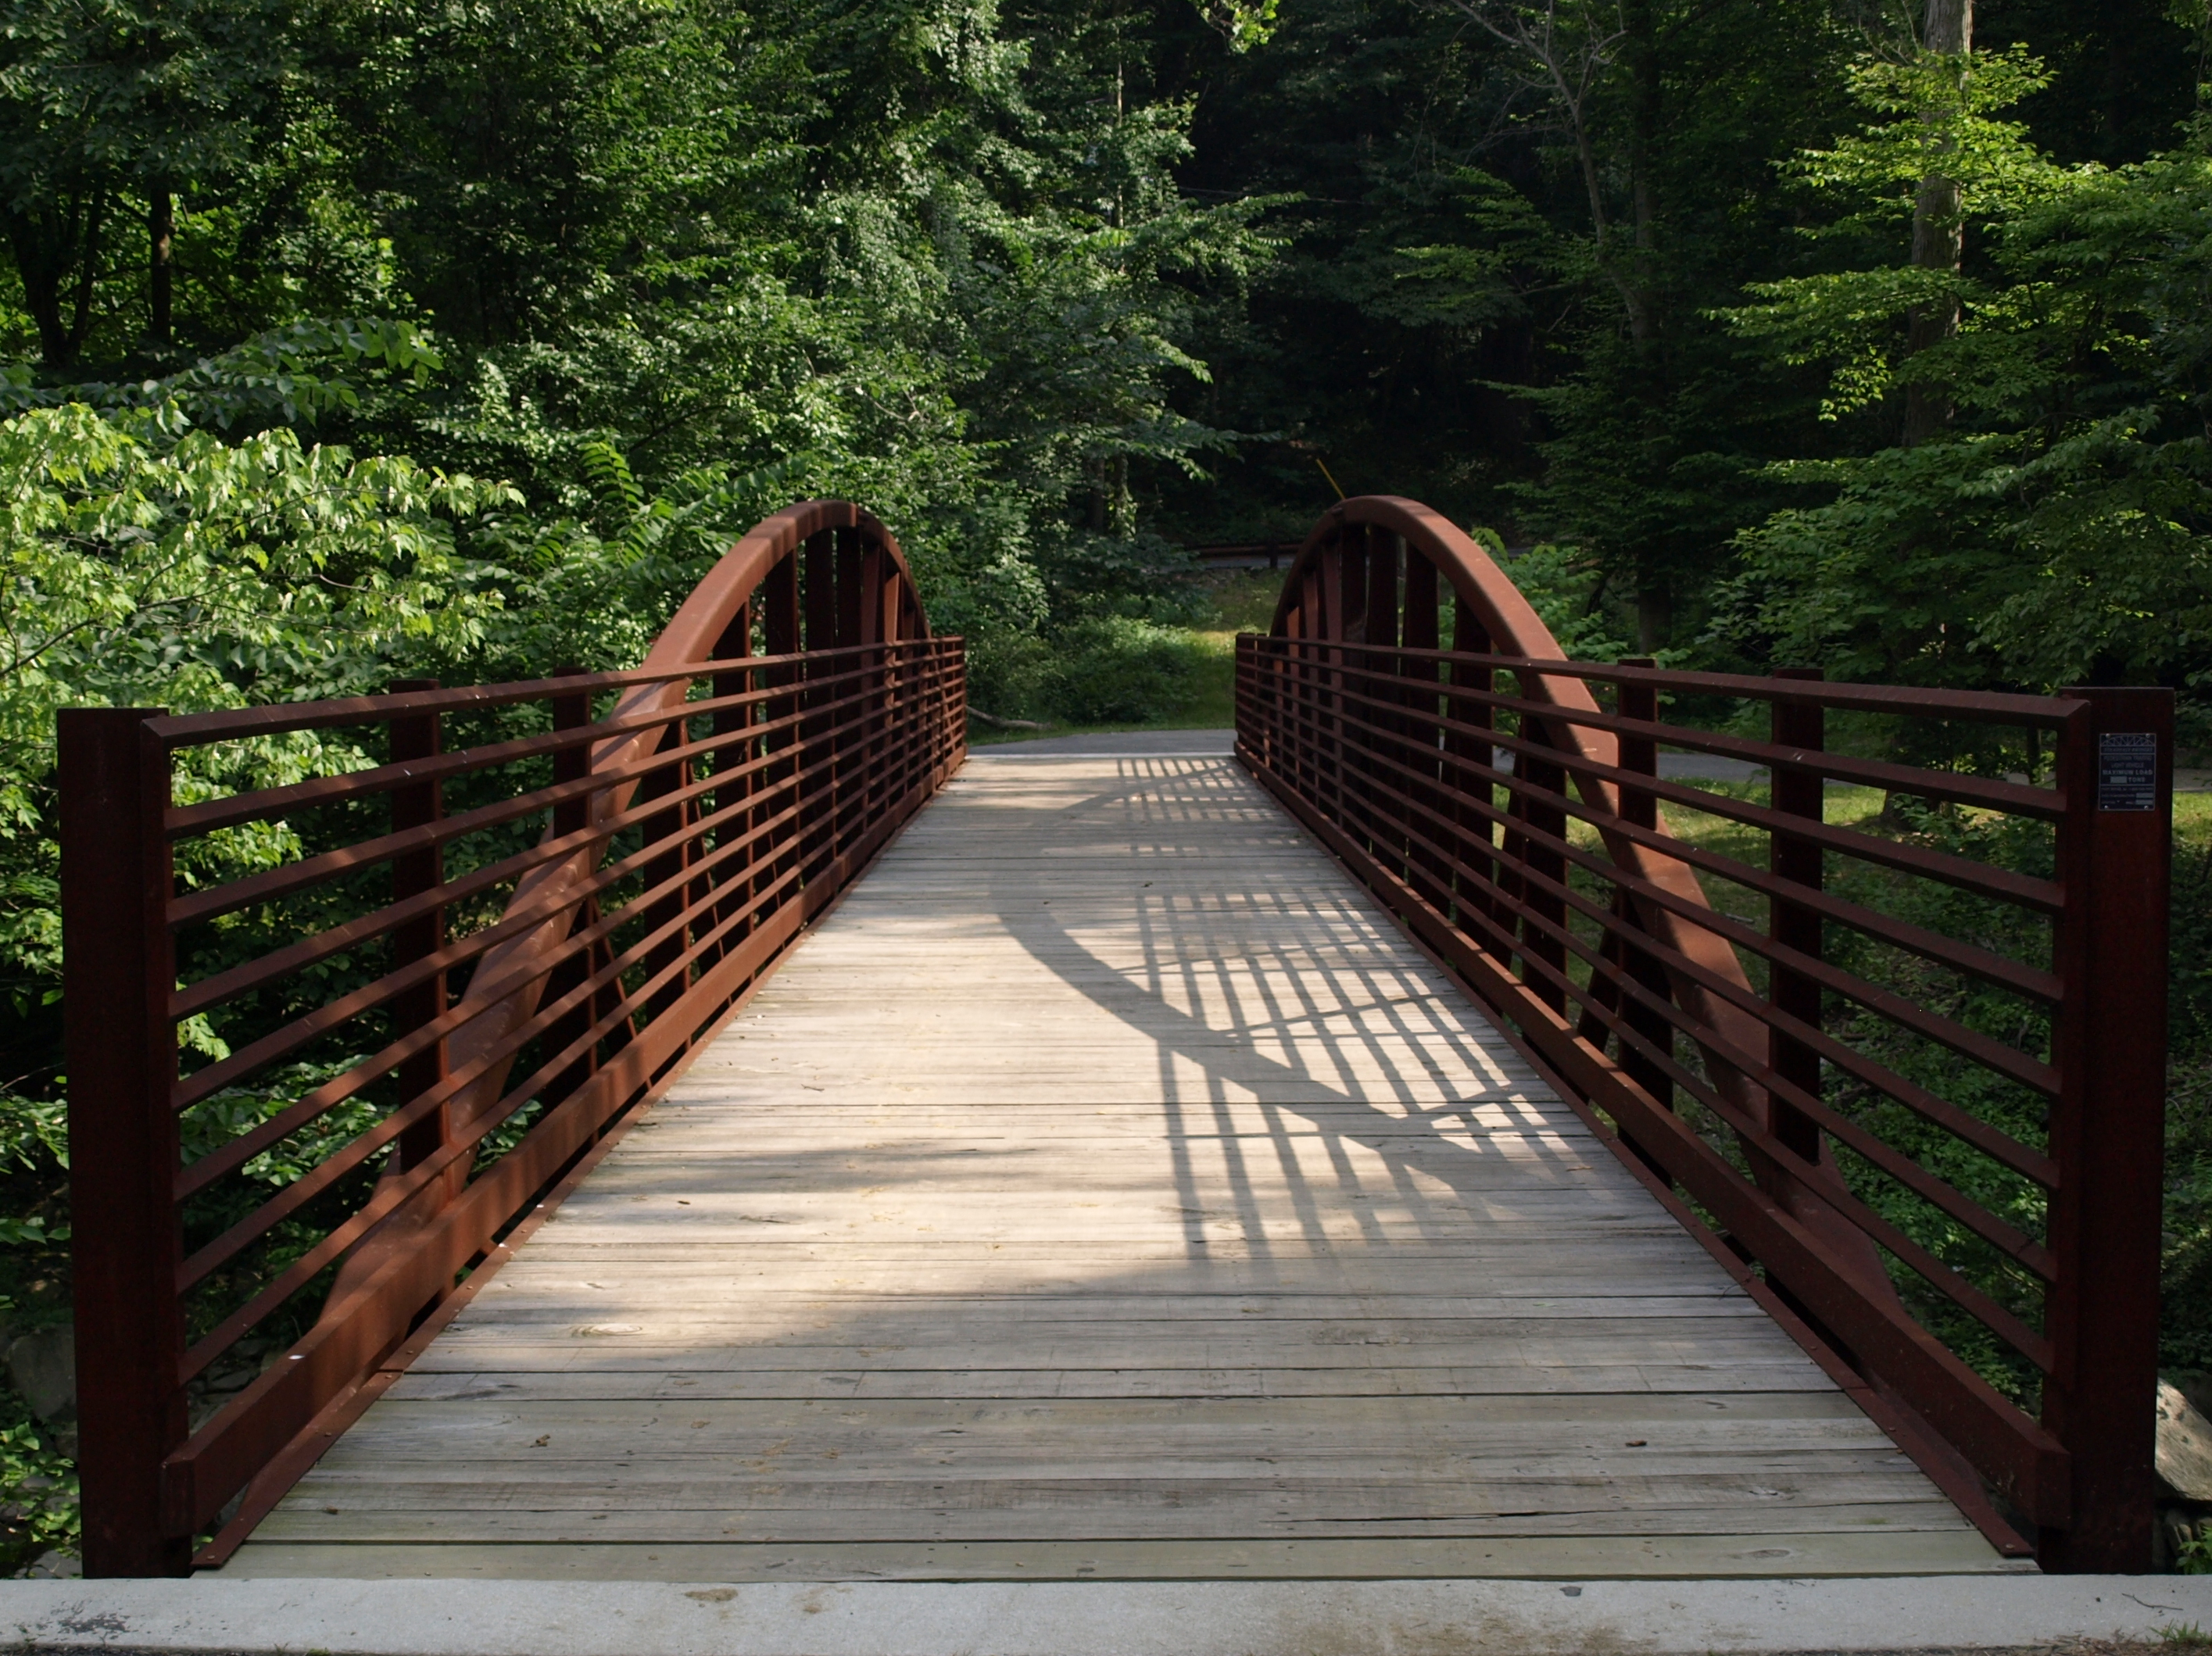
Bridge Over the Dead Run
Bridge Over the Dead Run
8
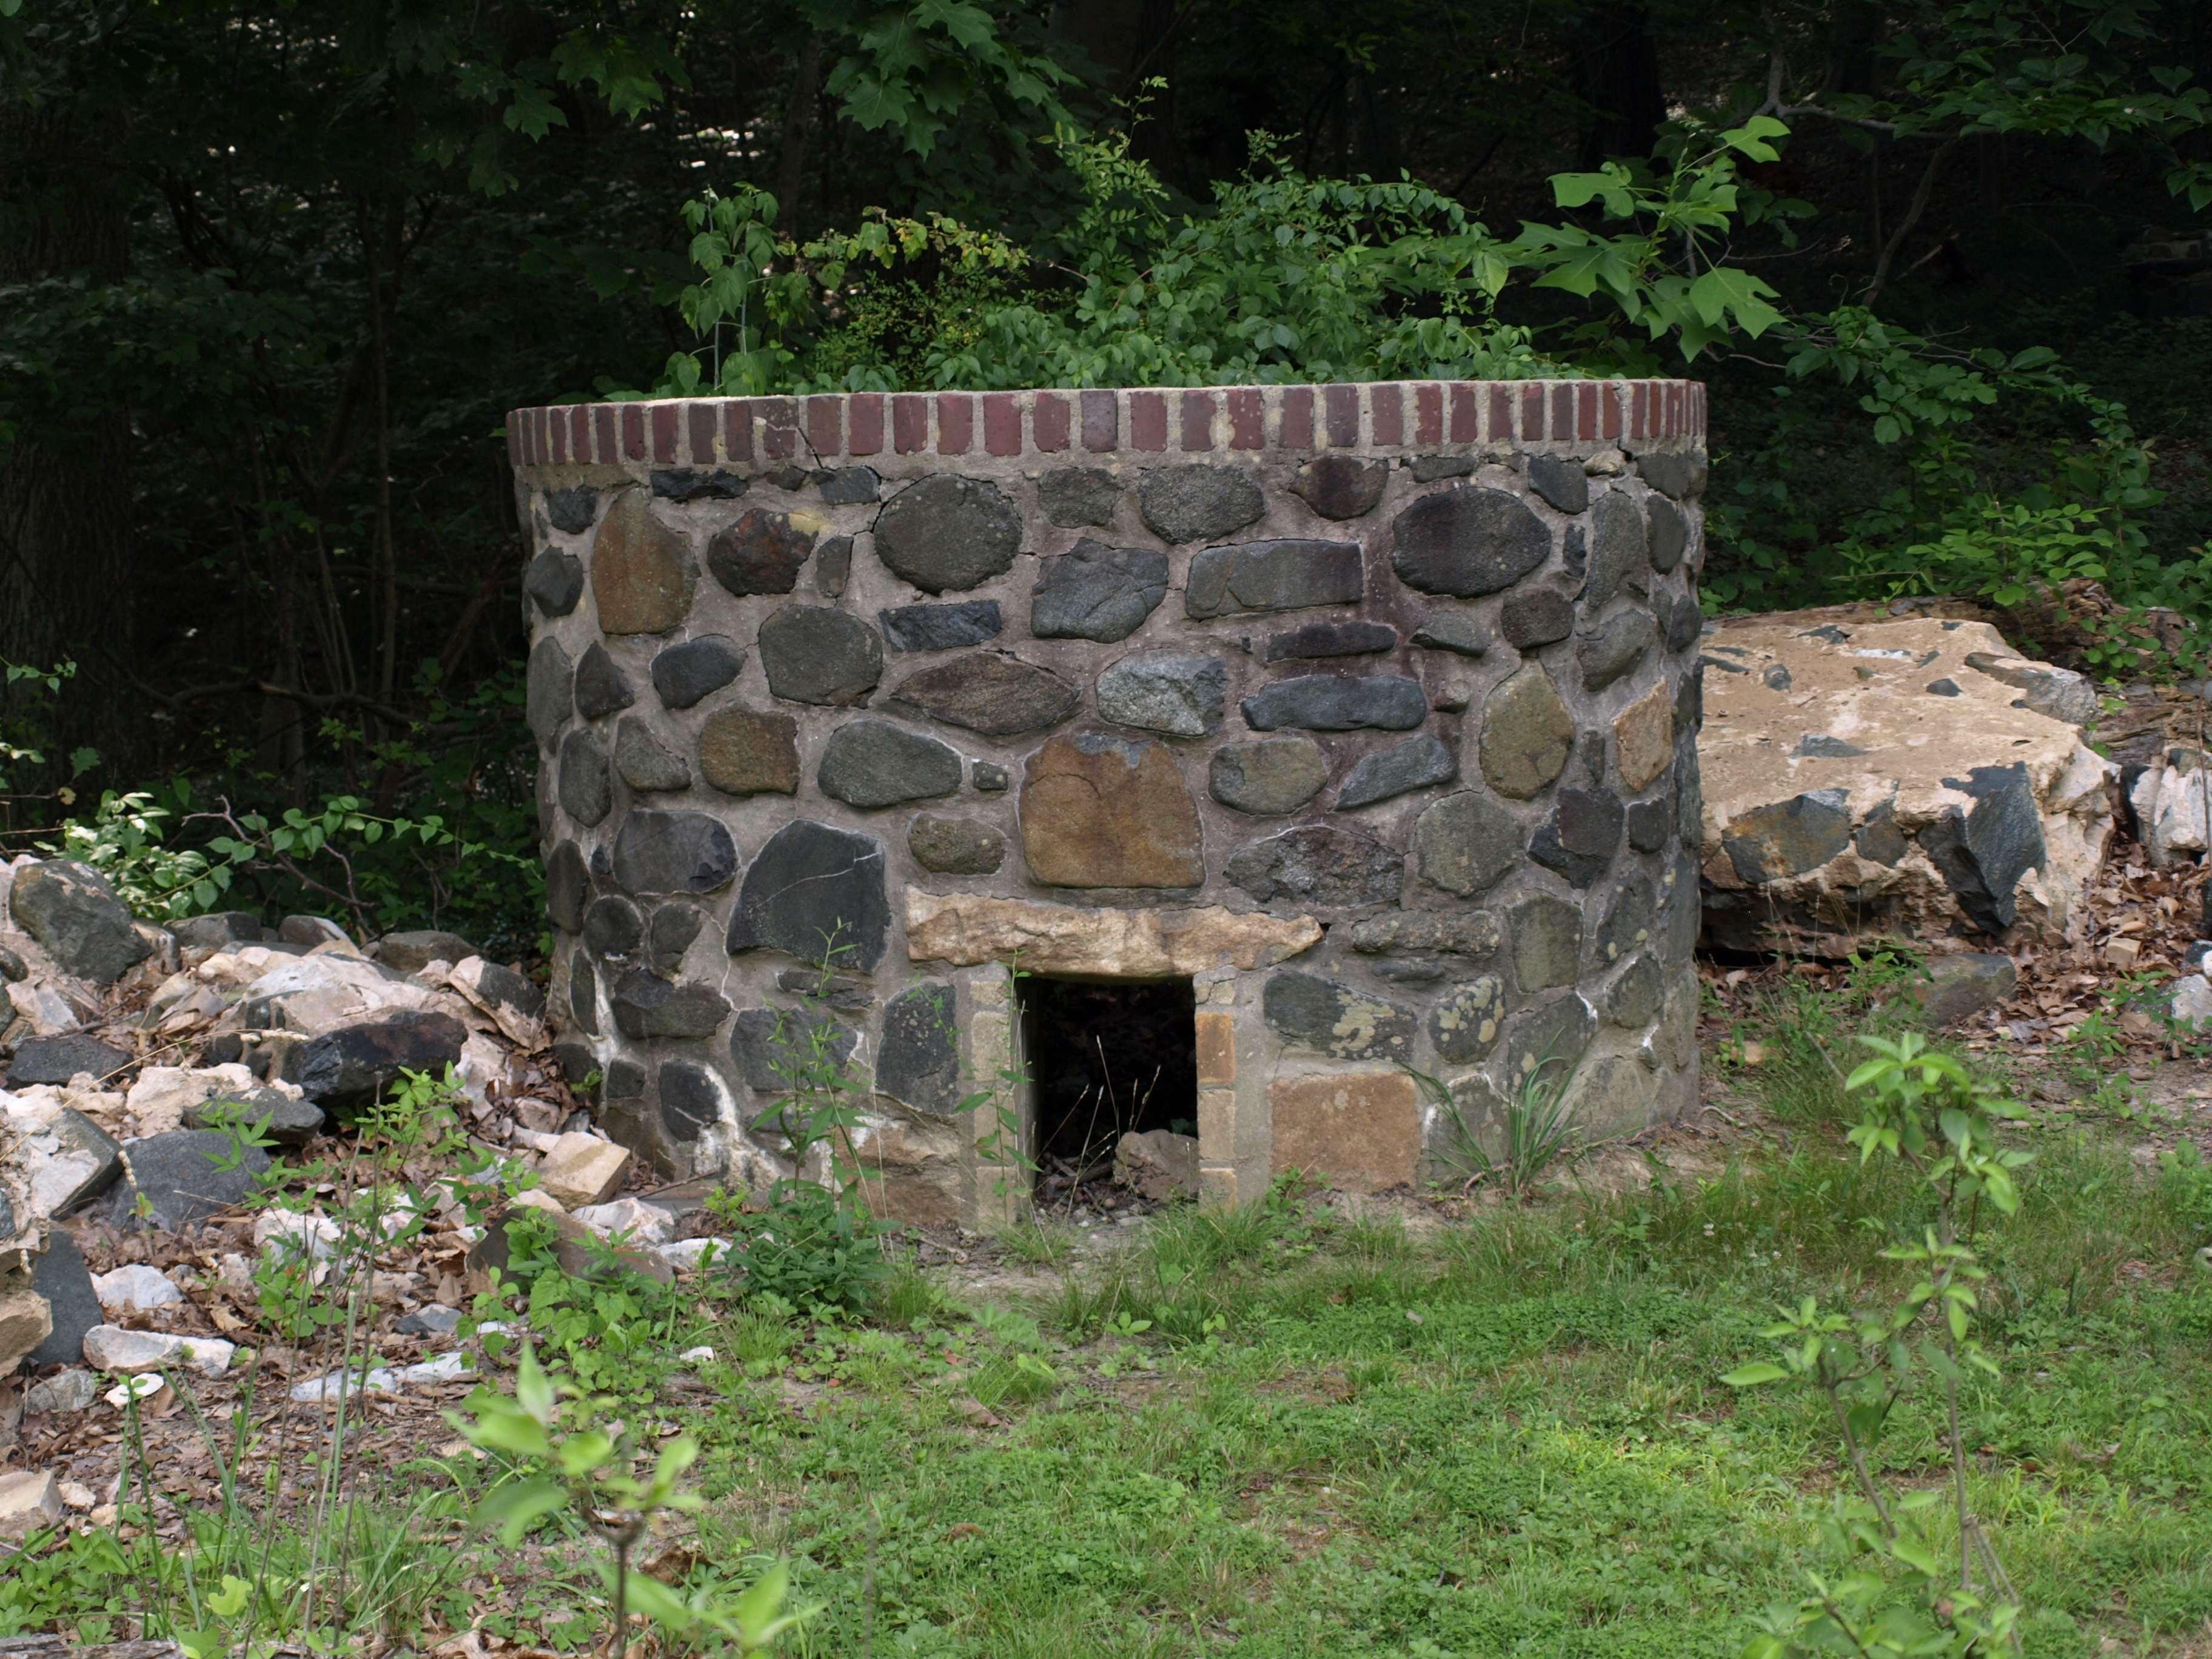
Structure
Structure
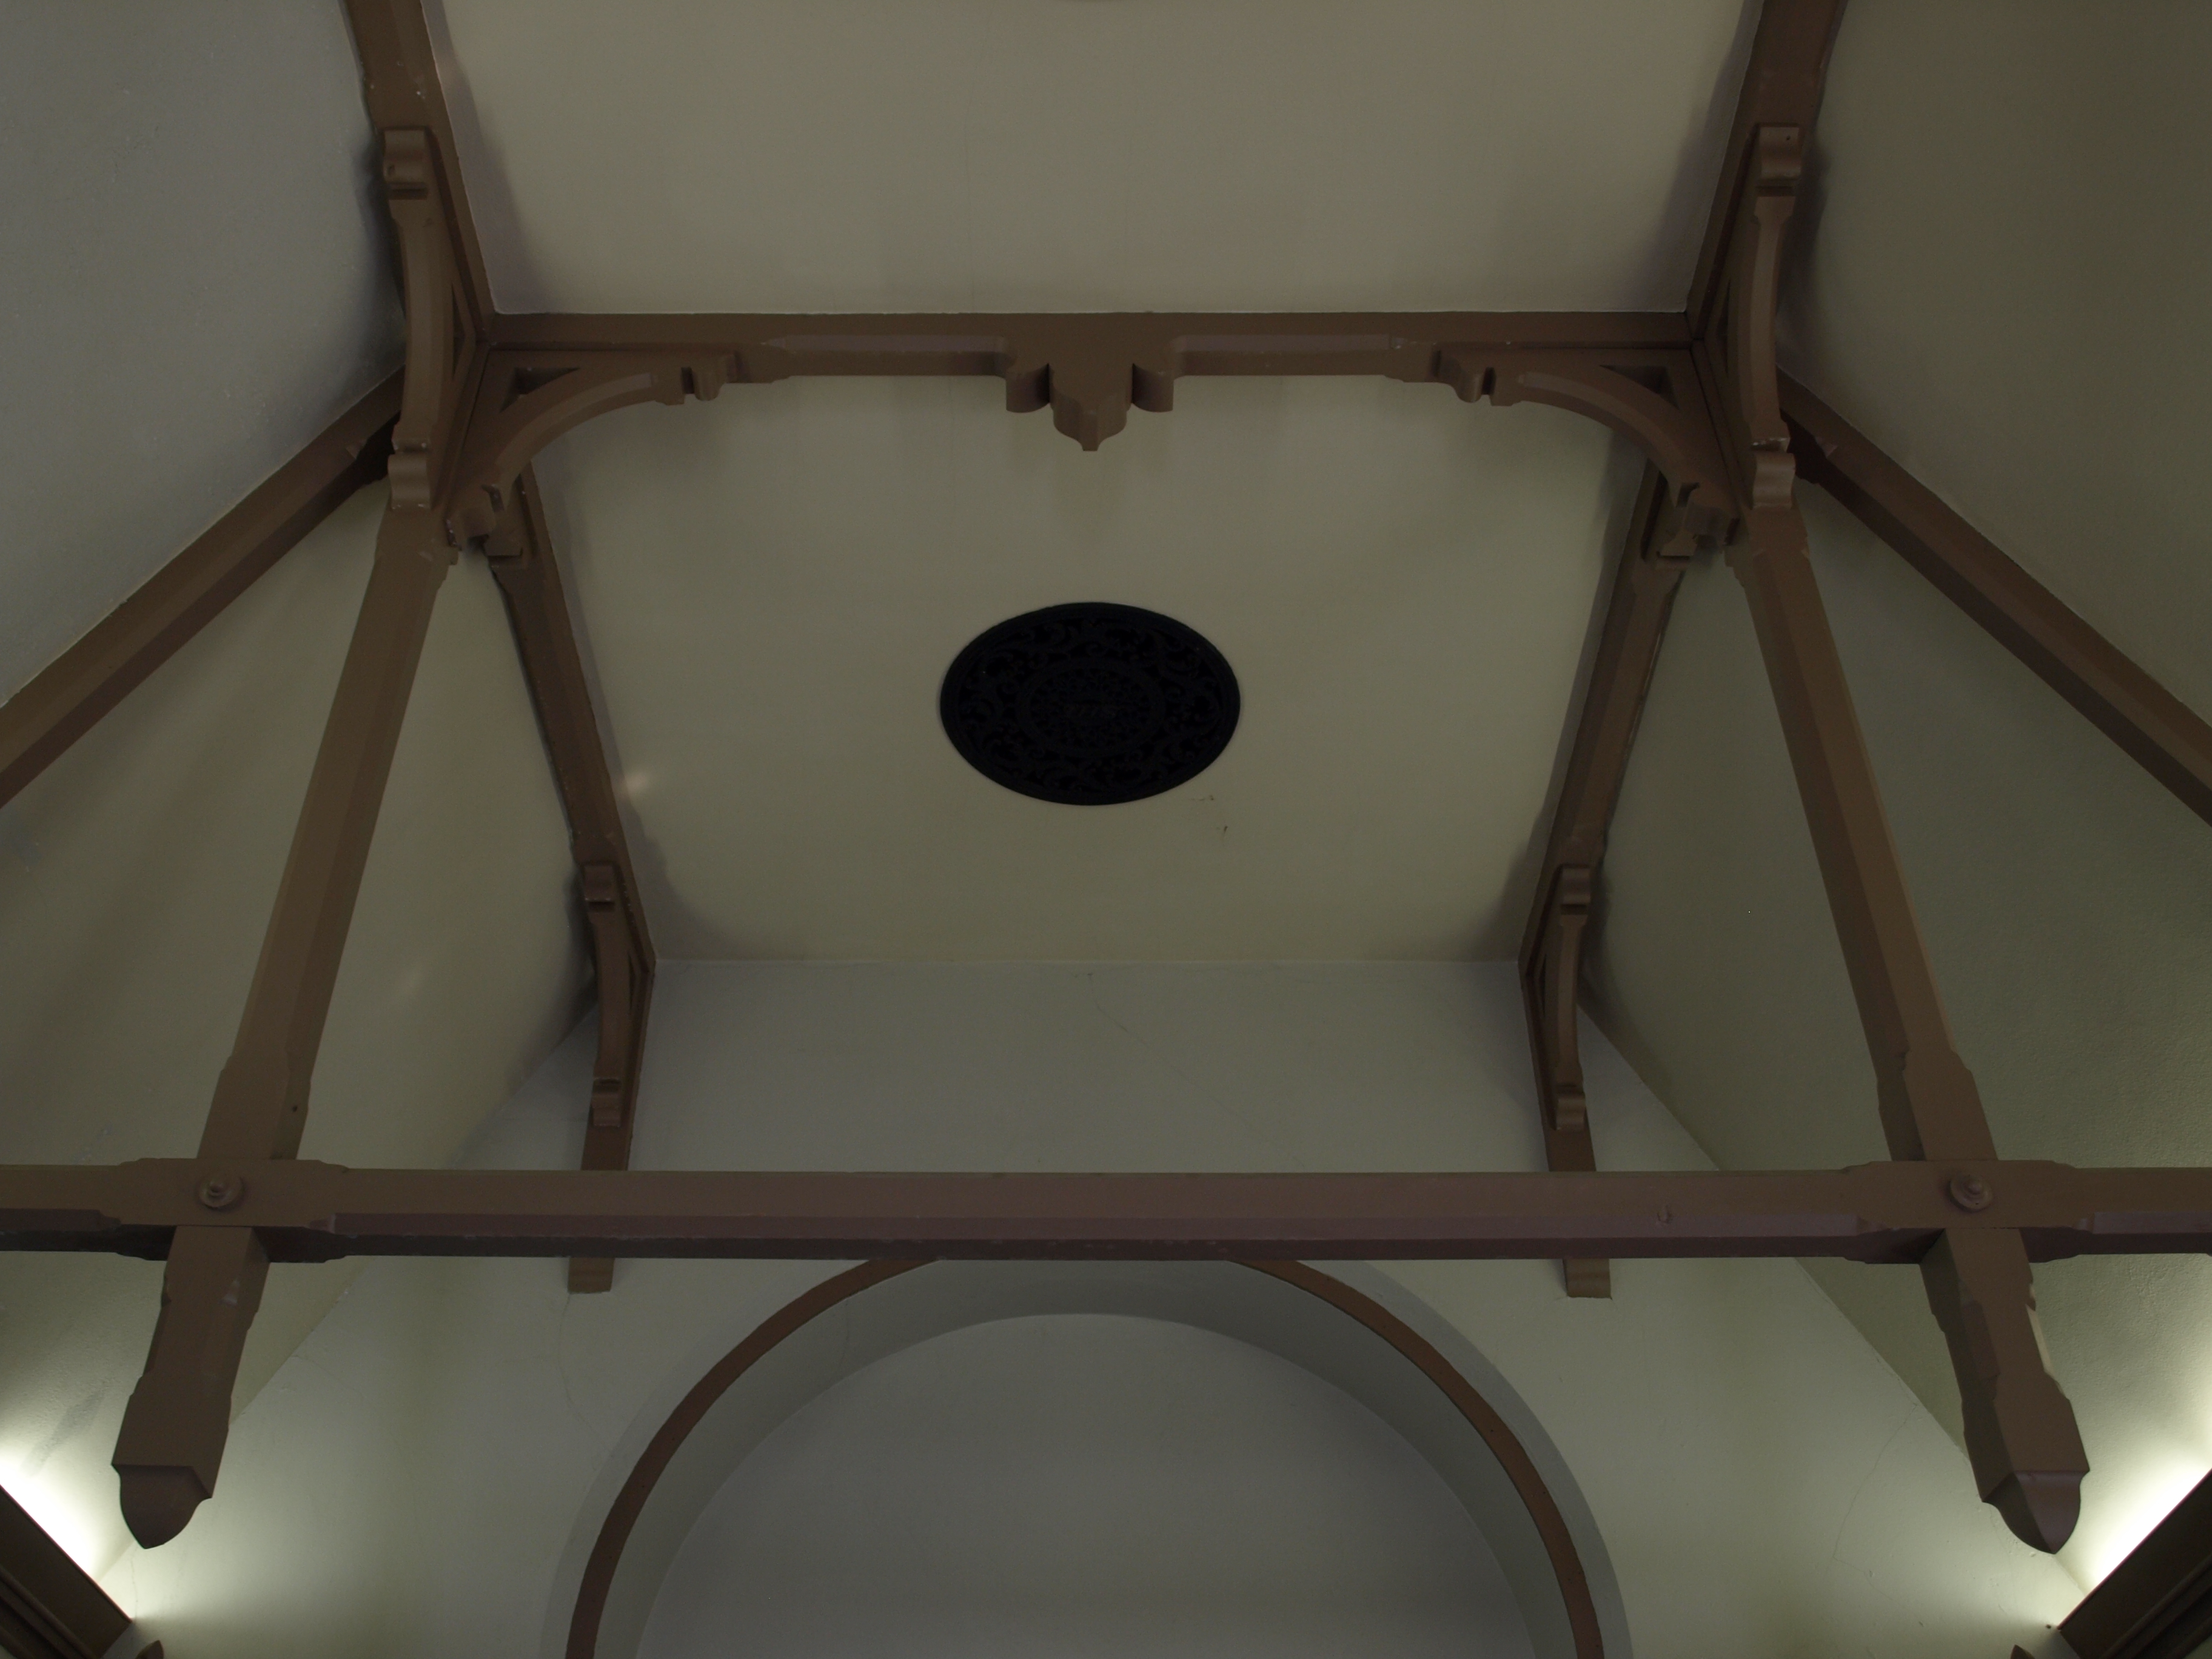
9
Chapel Ceiling
Chapel Ceiling
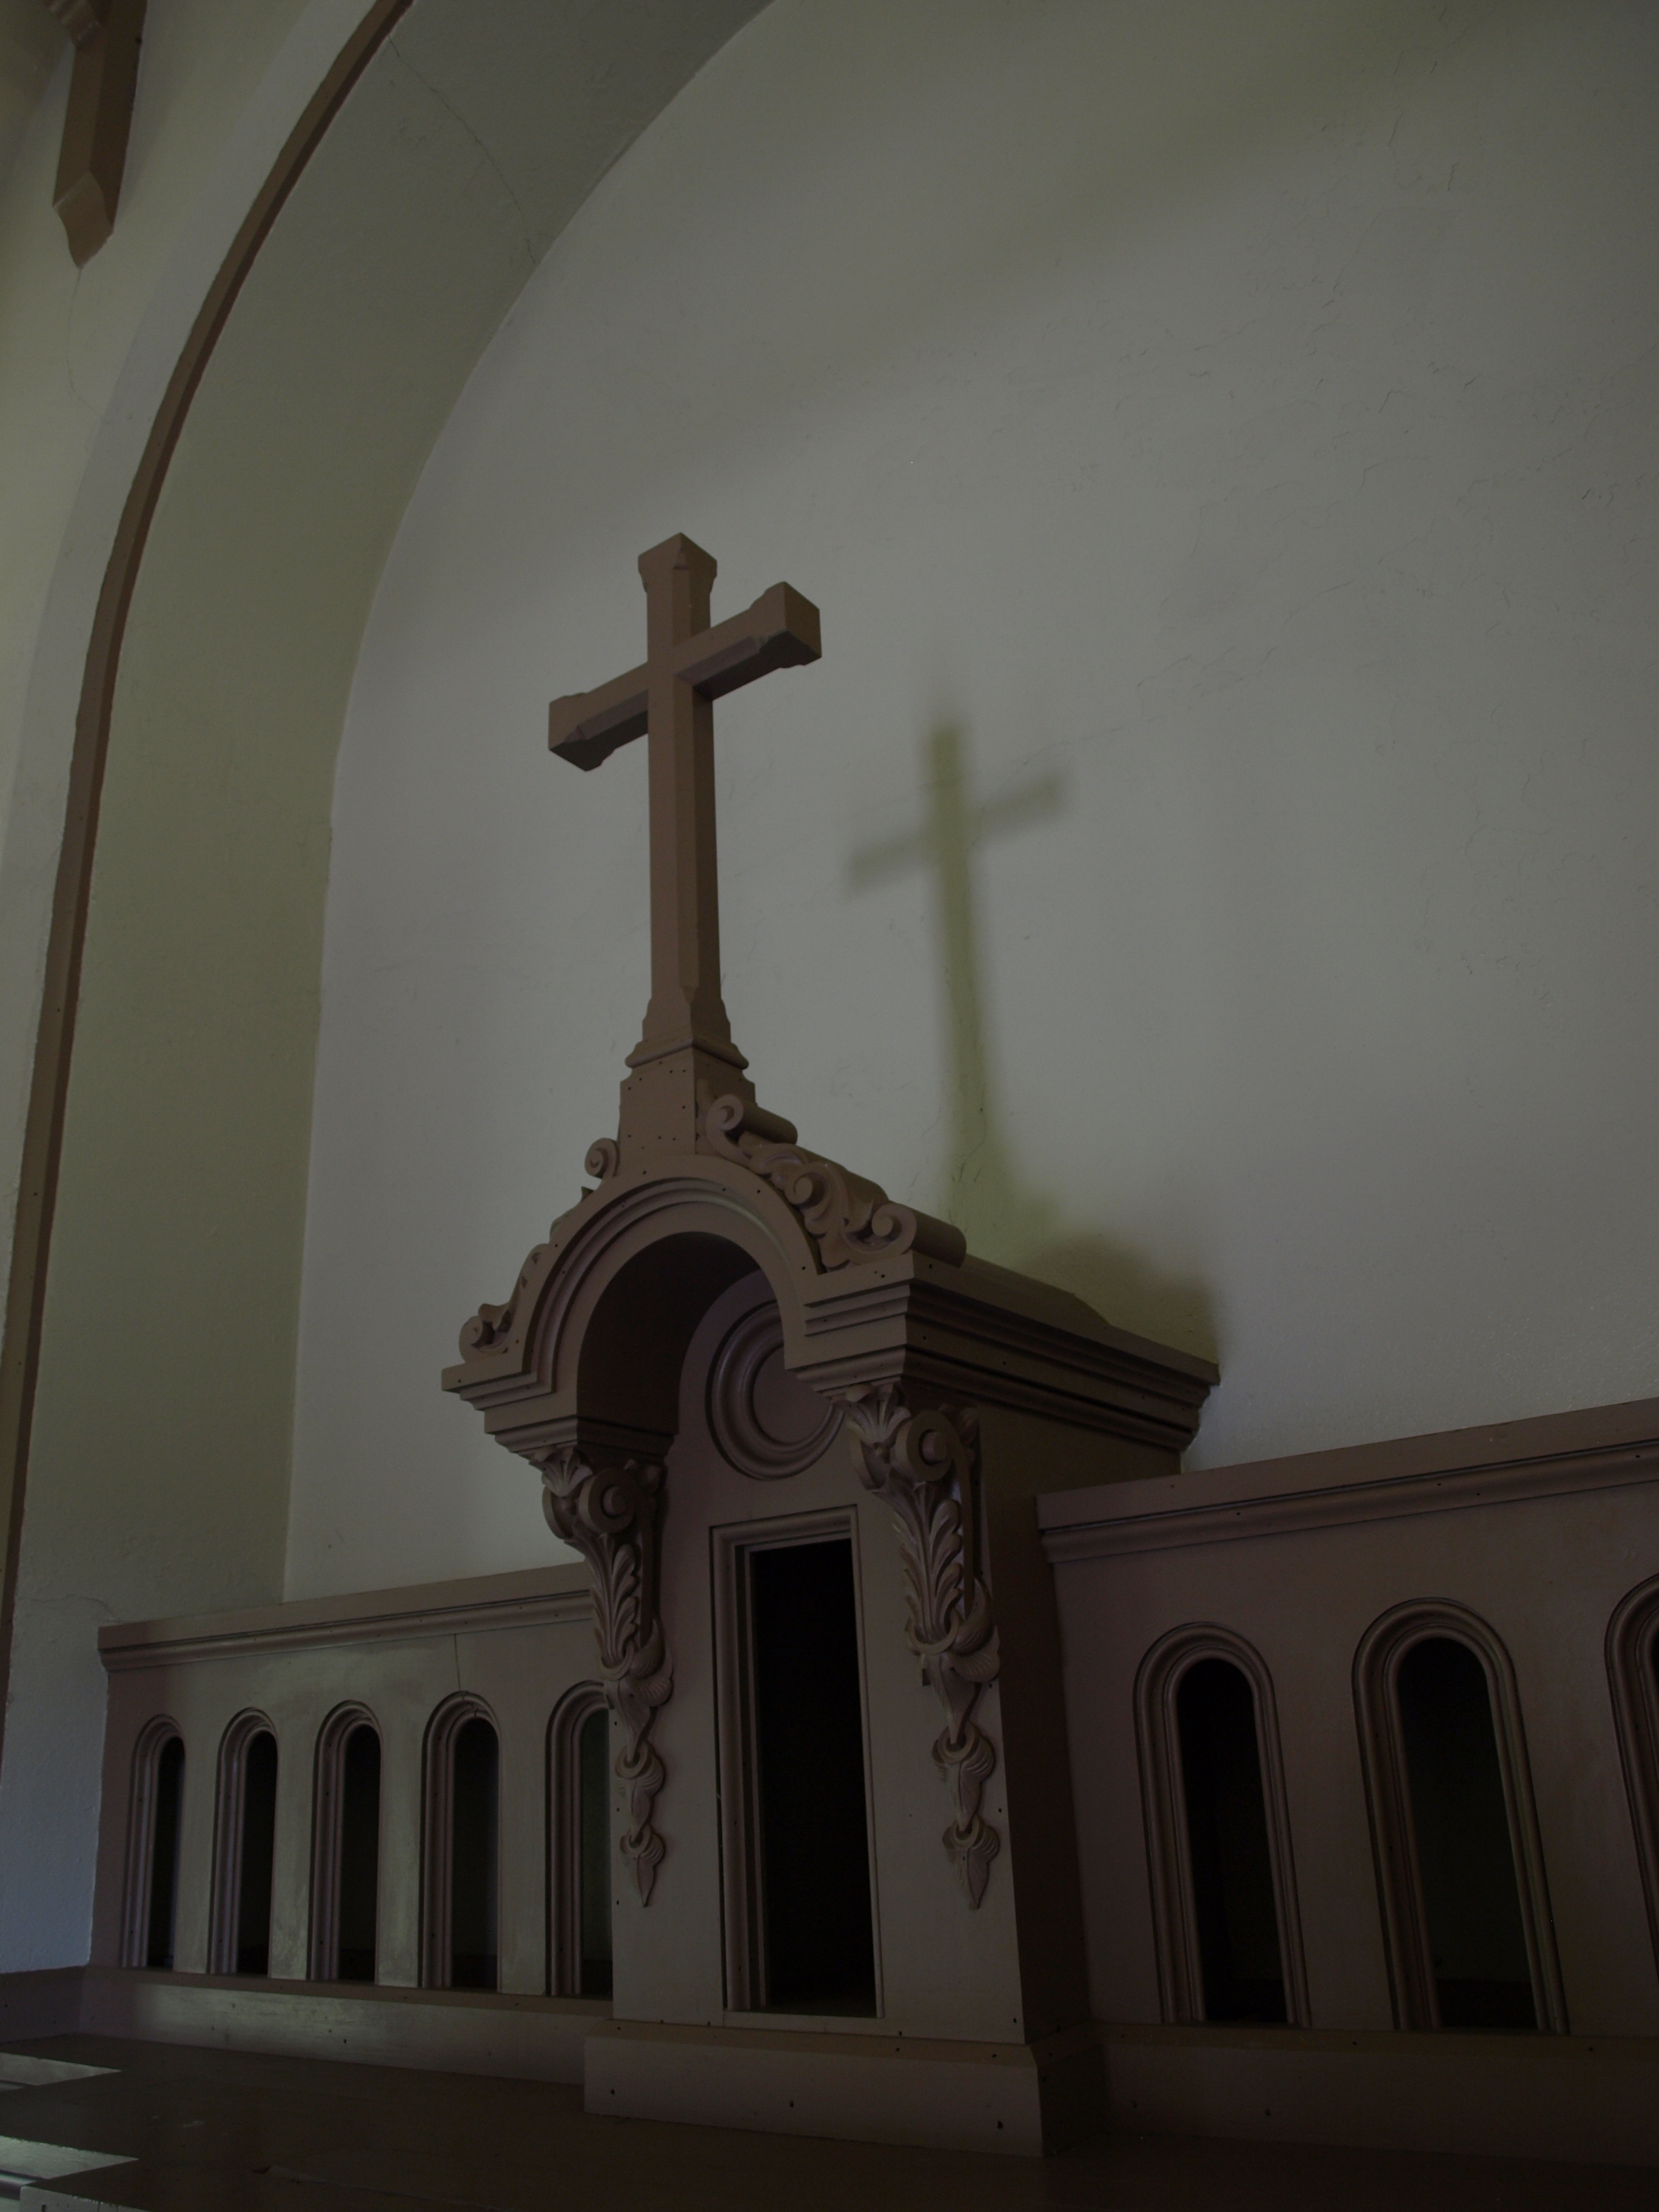
10
Cross Shadow
Cross Shadow
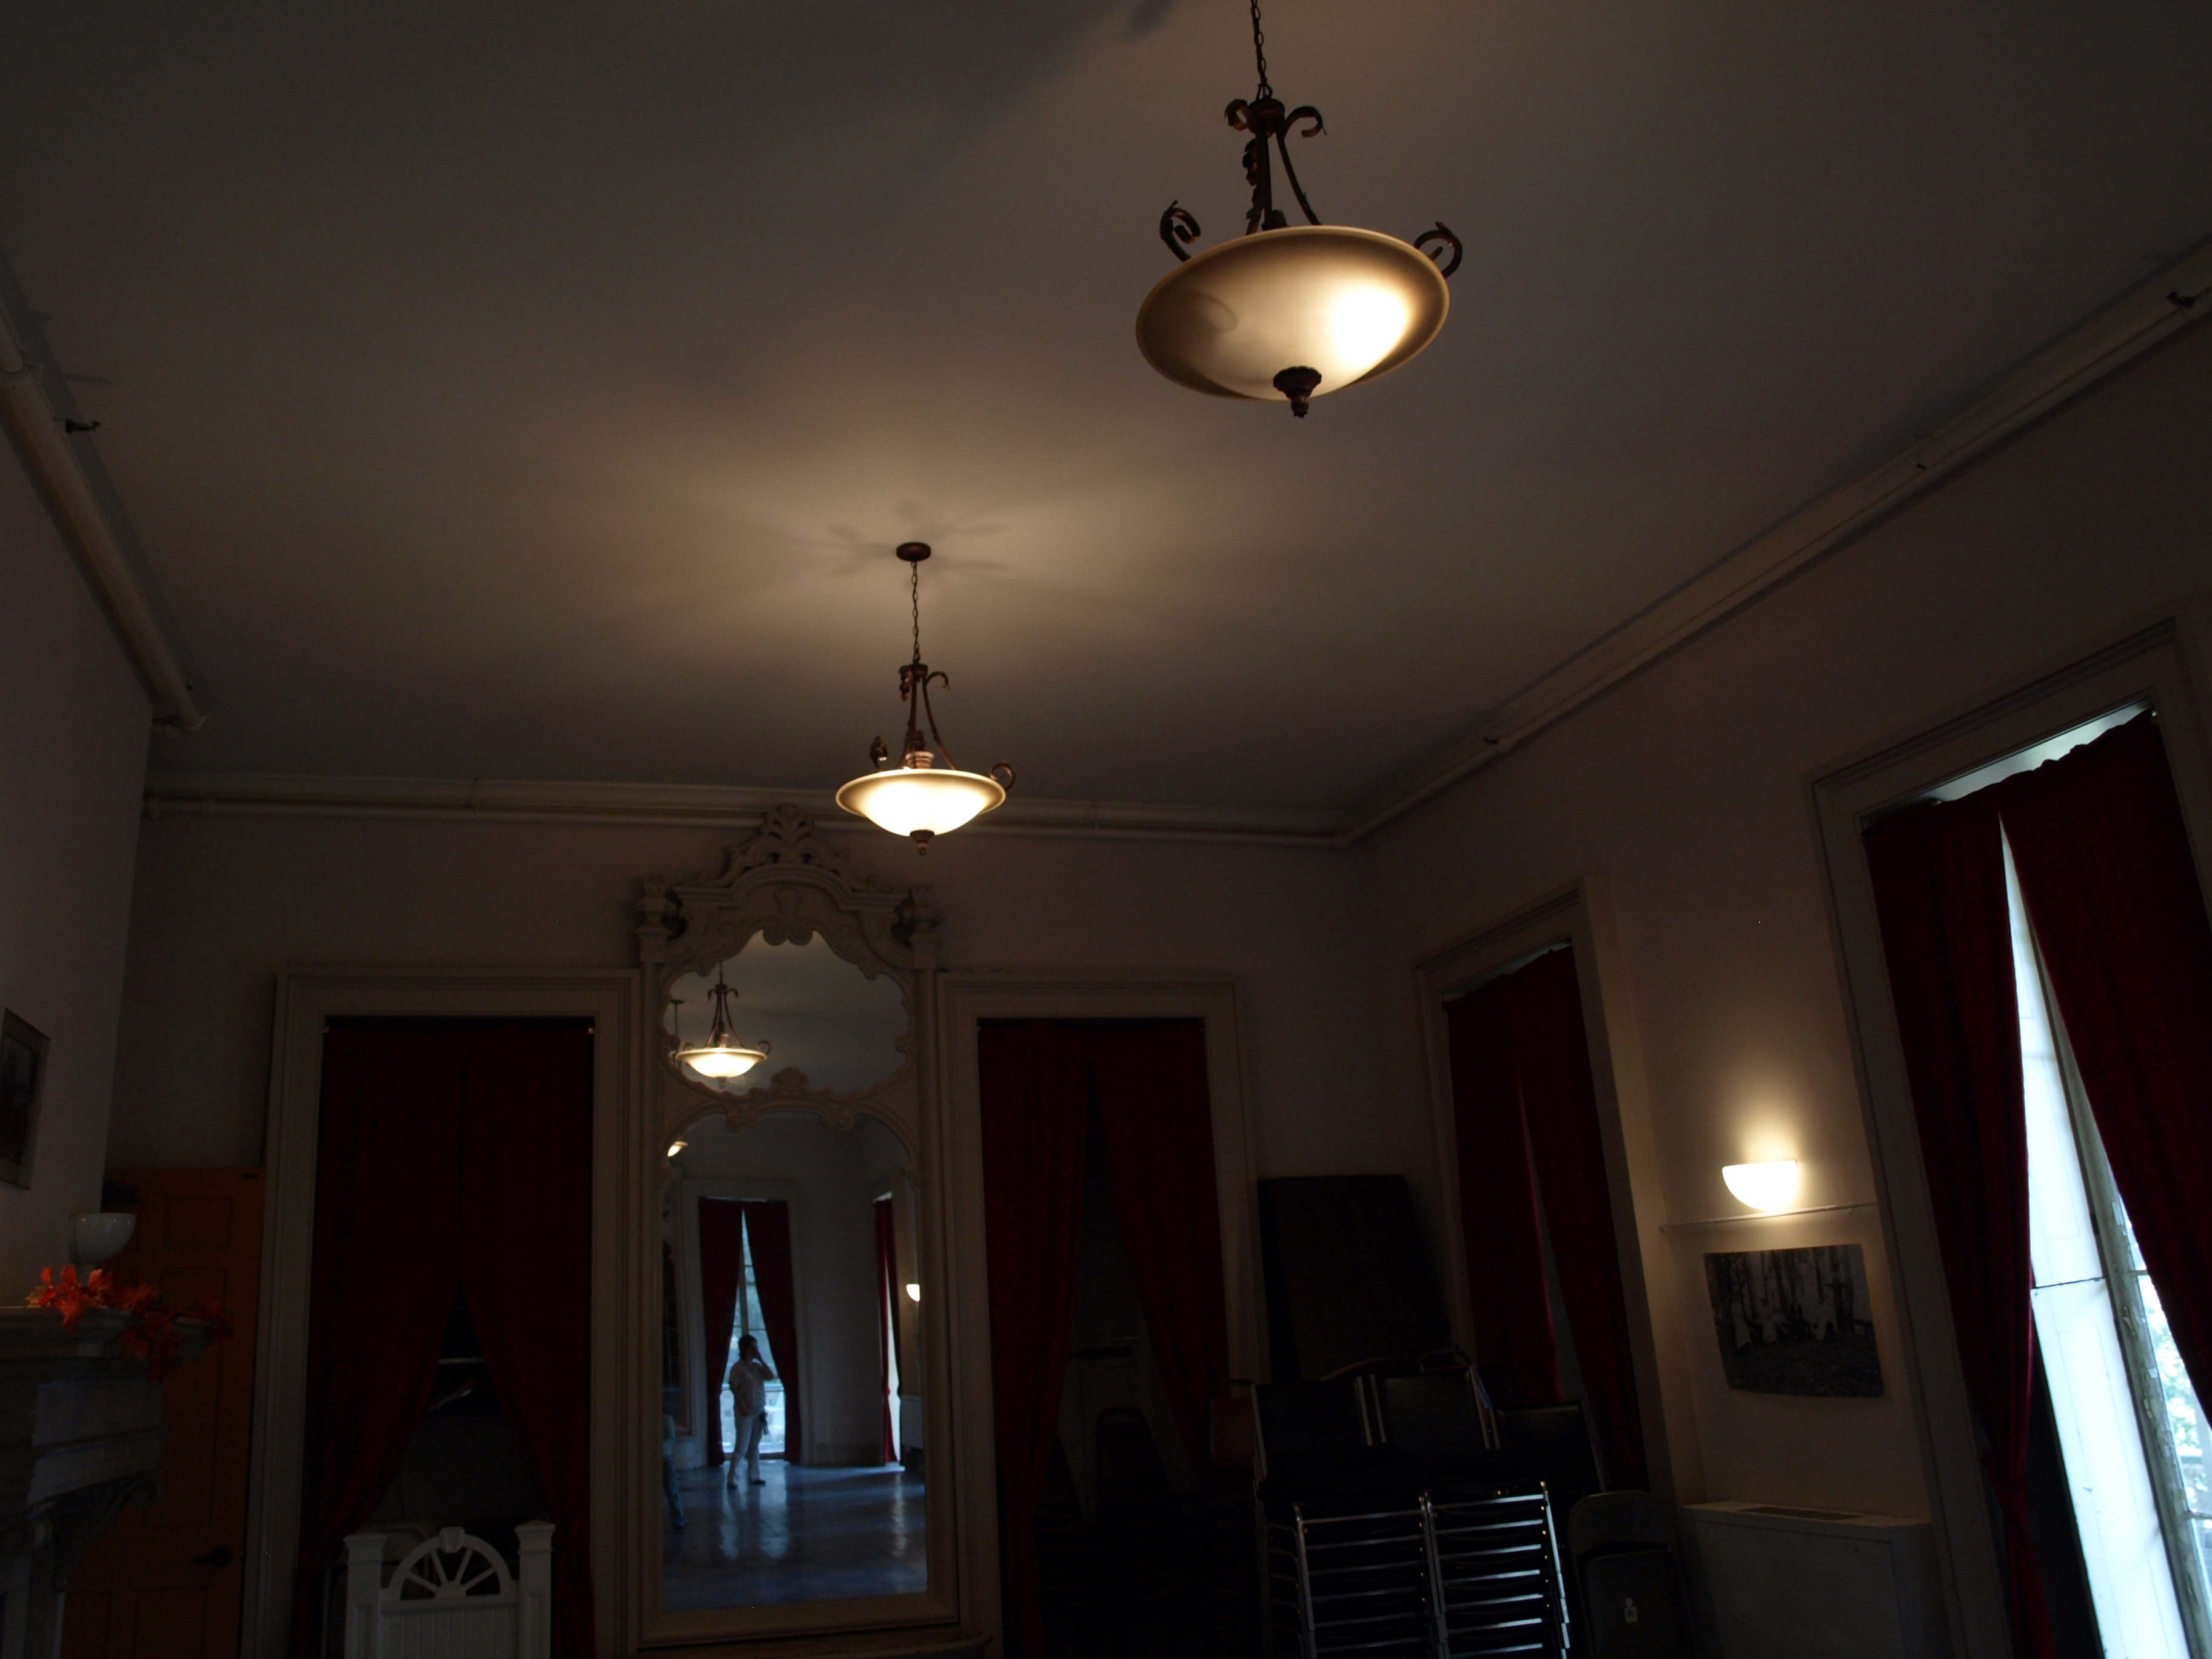
11
Lights in the Ballroom of the Orianda House
Lights in the Ballroom of the Orianda House
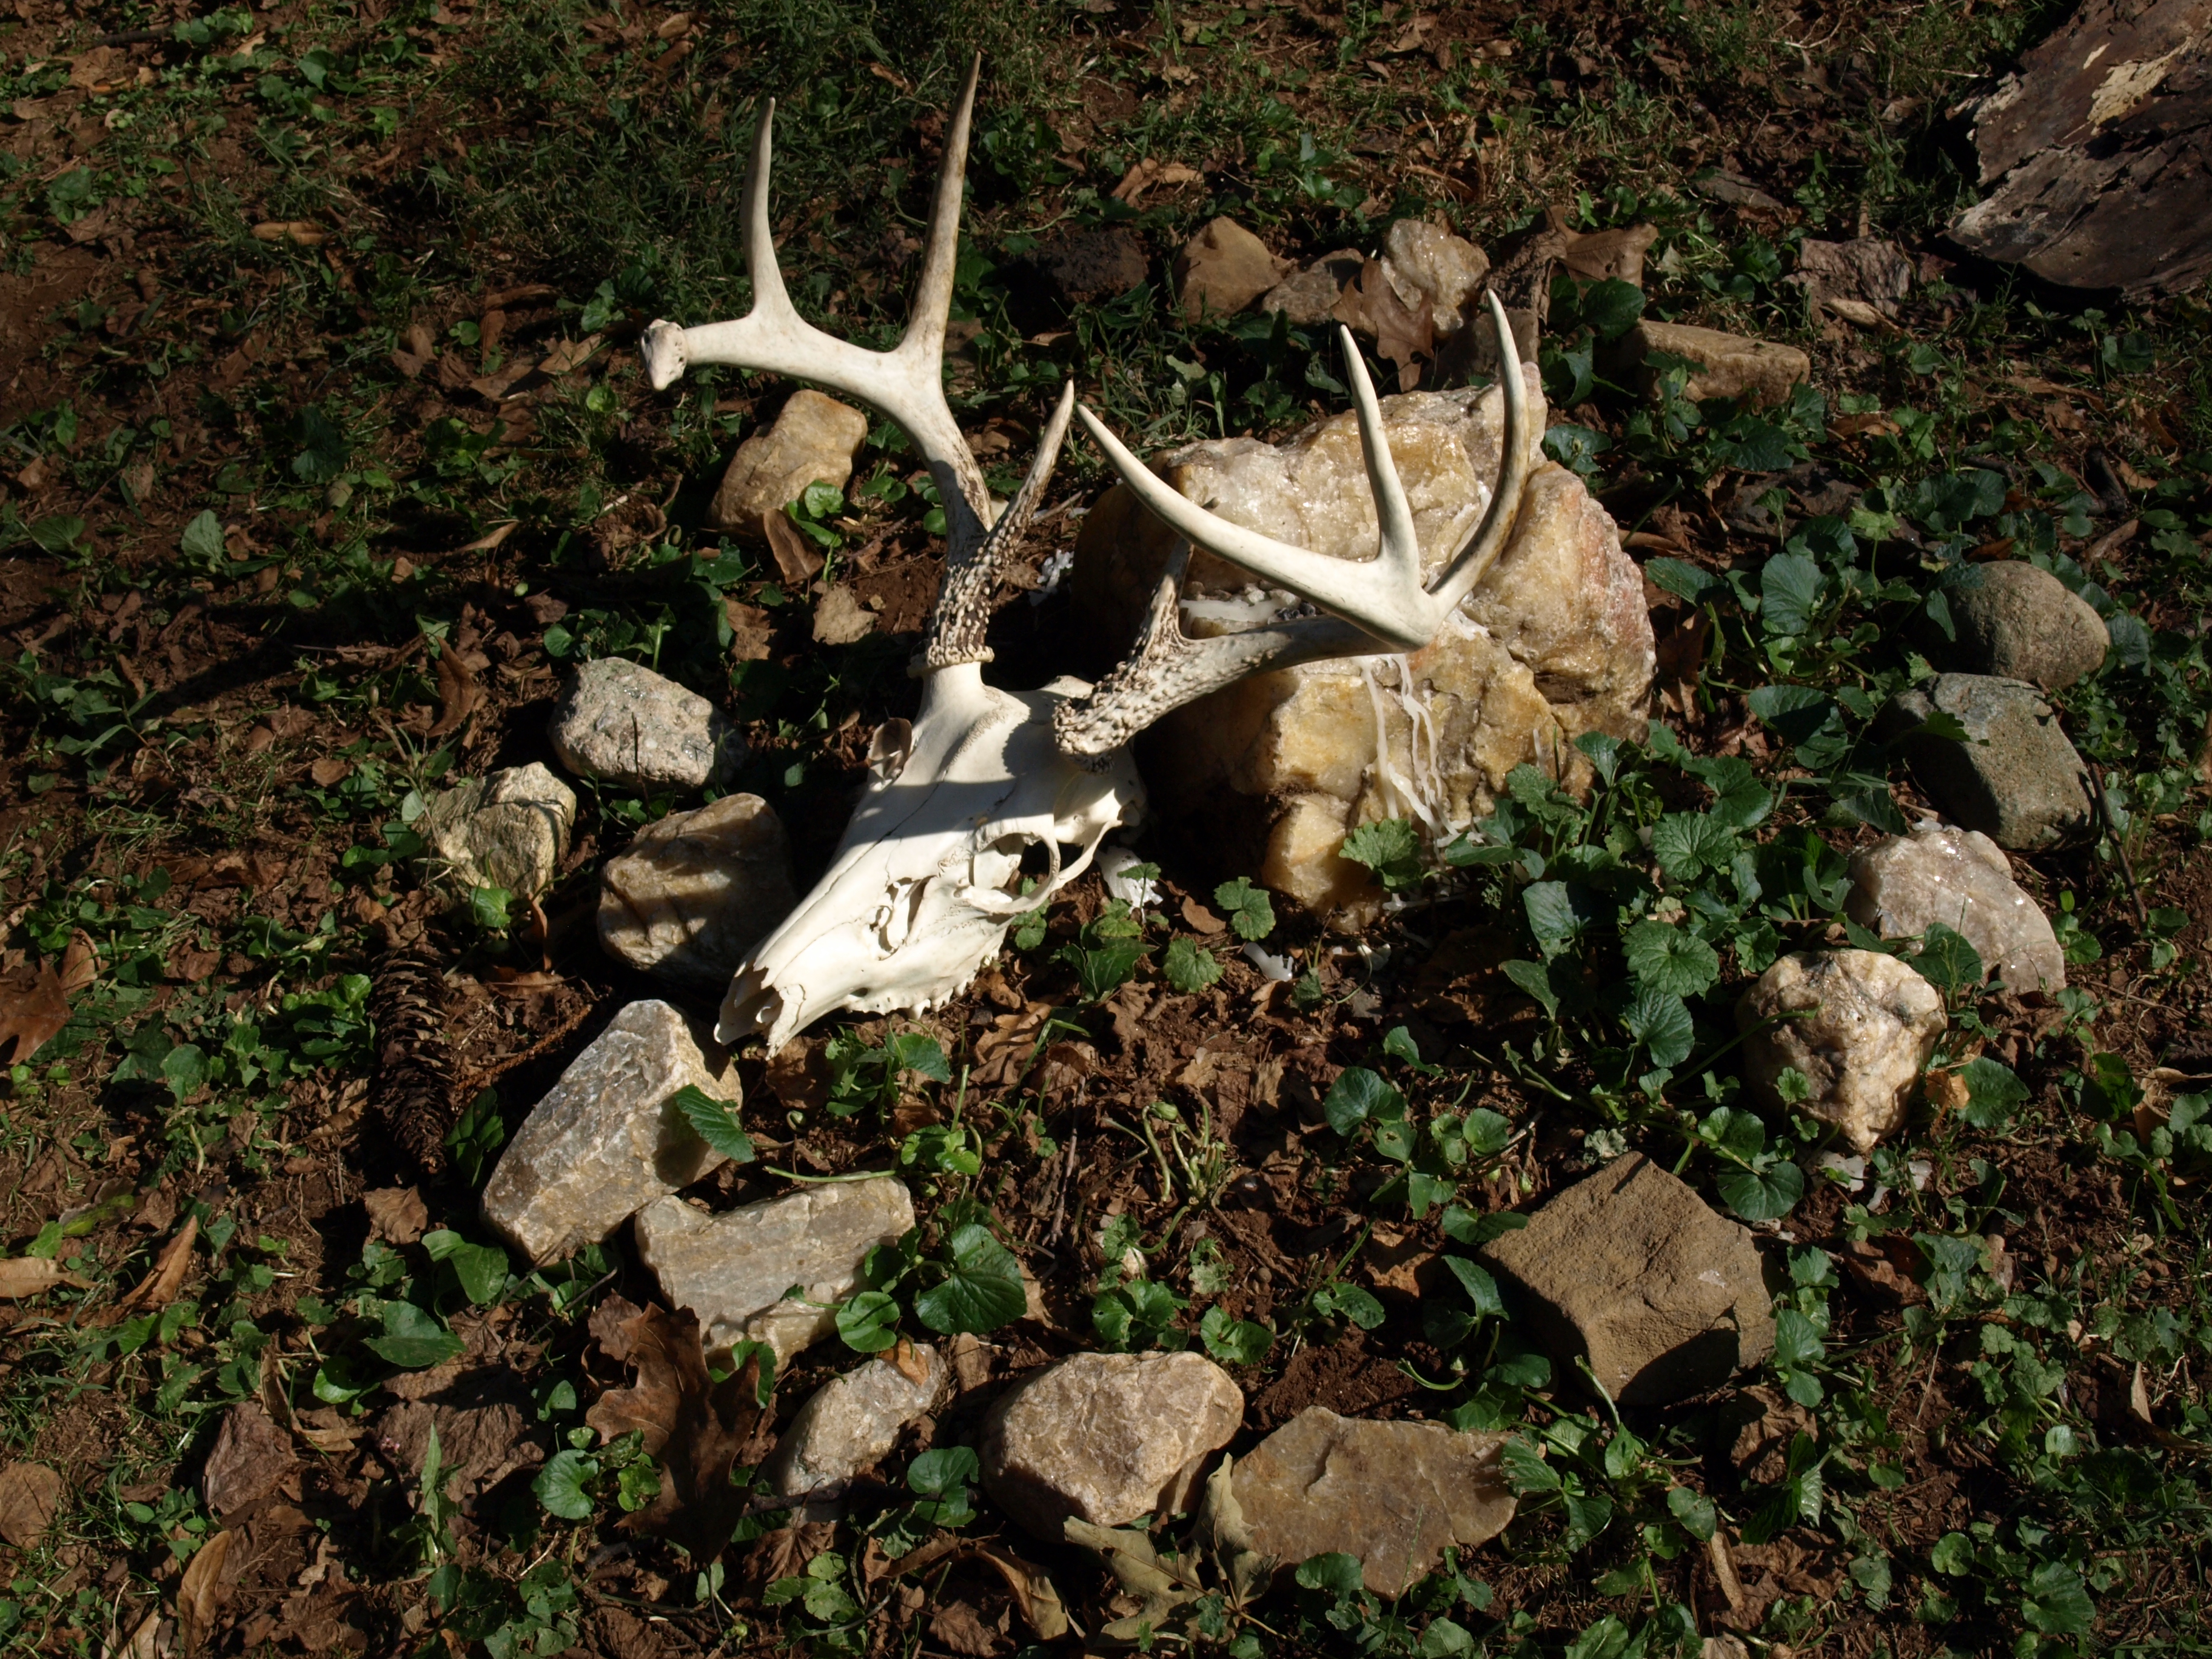
12
Stag Skull in the Center of the Hopi Labyrinth
Stag Skull in the Center of the Hopi Labyrinth
13
Stretched
Stretched
14
Flair on the Chapel Front
Flair on the Chapel Front